Showing posts with label Spring. Show all posts

Friday, April 13, 2012

A Home for Some Birds


Last night I made them a lovely home.  I used my trusty Real Simple magazines, and some scissors, and viola! Simple shapes cut into stacks of 8 at a time.  No time at all...

 Long skinny petals on star shaped flowers... 
Fat petals on cloud shaped flowers...
And circles with fringe cut all the way around for poppy like centers...
(See those beads?  They needed a hiding spot while they're waiting to be strung on something. But they're just too pretty for the inside of a drawer.)
 Some left over twine made for lovely stamen.
 

 Smaller versions of the same flowers made a lovely garland.

 A yarn needle, and some yarn easily strung all of the paper blossoms together.

This little bird likes his new home. 

This little guy does too. 
(My friend Sonya made these coiled REAL Simple coasters.  Wilbur stands easily using a pin stuck into the coaster and into his tummy.)
 These two are admiring my castle sketch, while reading up on "Love that Lasts." 

Spring has arrived in the spare room. 

Sigh.

Sunday, April 8, 2012

Week 14: Put Some Birds On It

First of all: Happy Easter everyone!  I hope it's lovely. Secondly: Alan's parents are coming in two weeks, and we're SO excited!  I love having visitors, and because it's a rarity now that we live in Turkey it's even more special.  

I try my best to Martha-it-up in the guest bedroom whenever we have visitors.  Our last visitor was my mother who came in February, and I had decorated the room with this lovely heart bunting.  But seeing as we are well into spring, I decided it was time for something different.  And after squealing over baby chicks and ducklings at all the markets these days, I figured some birds were in order.  

I used more scrap fabric, embroidery floss, and some stuffing.  
If you're like me, and currently living in a foreign country with no craft stores, it might be challenging to find stuffing.  If that's the case, you can use the real scrap left overs that you wouldn't usually bother saving because they are so small, or you could use shredded paper, or cotton balls... or you could do like I did, and cut into a cheap balcony pillow that you never remember to use anyway.  I've stuffed a ton of things with batting from this pillow.  There's still so much left that I just put the cover back on, and you can't even tell.  This method also works well if you're cheap.  I'm not judging AT ALL.  In fact, I highly recommend being frugal and green whenever possible. "Cheap" and "Earth-friendly" are the new "Rich" and "Modern."  In my book at least.

Anyway... Back to the birds.

I cut some shapes out of paper, and then traced the birds onto fabric folded in half.  

Two of each. 

Then I sewed them together!  (My sewing machine is waiting for me in California, so I had to do this all by hand.  Not recommended, but they did come out looking kind-of-purposefully-scrappy.)

With my first bird, I started with the right sides together, and sewed most of the way around, and then flipped it right-side out. I was less than impressed.  My hand sewing was less than stellar, and it didn't even look like I had tried to hide the stitches by sewing inside out.  
Bird 1
So on the second bird I didn't even bother. I just whip stitched all the way and didn't bother to flip it. 

When I had about an inch left to sew, I filled it with the stuffing. 

And closed it up. 

I used the same thread to make some eyes.

And to stitch on some wings.  

Quick tip 1:  To get the eyes and wings even on both sides, look from the front of the bird, and from the top while you have the needle poking through. looking just from the sides will probably result in some lop-sided-ness. 


Quick tip 2:  To hid all the knots, don't bother tying off, and cutting until you've FINISHED the bird. When you finish the seam (I try to start and finish in the neck area) just send the needle back in, and out again in the eye spot.  Go back and forth from one side to the next, making both eyes at once.  Then dive back in, and come out where you want to tack the wing down.  Again, do both wings at the same time, going from one side to the next.  When you finish, tie off, but don't cut.  One more time, send the needle all the way through the bird.  Pull it tight, and cut close.  When you let go, the end of the thread will bury itself in the middle of the bird, never to be seen again. Ta-Da!

Back in through the neck seam, and out through the wing. 


 I like this little flock of birds and ducks. 
Pete
Penelope
 
 Defne
 And Wilbur

Now to find them a home!

Wednesday, April 4, 2012

Celebrating Spring Colours: Rainbow Necklaces

The other day my friend Sonya walked in wearing this gorgeous piece of inspiration. 

 I immediately fell in love with the lovely rainbow colours.  
So did a fellow coworker who asked, in Turkish, "Hey! Where'd you get that? Turkey?"  Unfortunately not.  Sonya brought it with her from America.
So I told her I would make her one.  (And one for me too, because I was in love!)
 So Sonya and I headed to Boncuk Dunyası (my most frequently visited store, as of late) and reveled in beads of all colours. 
 After fondling every bead in the store, I purchased a rainbow. 
 Tiny seed beads...
 Red: pearls, flat ovals, and diamonds...
 Orange: marbles, squares, and long translucent... beads...
 Green: small cubes, stones, and BIG green versions of the orange beads...
 Little blue beads with white beads inside...
 More blue: tube shapes, and small triangles...
 Purple and Silver: pearls, egg shapes, and huge diamonds.
 I started by looping the fishing line through twice, leaving a 3 inch tail.  (Look how weird the table looks. It's super zoomed in because seed beads are small, yo. Zoomed in like that, the tail looks like its made of skin.  Ewwe.)
 Then I just stung a ton of beads on. I strung about 5 seed beads between each larger bead.  This is really just one extra long necklace that I'll wear doubled up, so I just strung until it was the length I wanted, and then tied off.
I tied like 4 knots, because fishing line is shifty.  Then I left the ends a few inches long, and strung them back through the beads to hide them.  So far so good.
 I really like how the colours look together.
Yea for a necklace I get to keep!  What a great way to celebrate spring!

Tuesday, April 3, 2012

Celebrating Spring: Tuesday Shoesday

No, I didn't craft these... I'm no cobbler.  But I did find them on a SUPER SALE, and who can resist some cute spring flats at a crazy low price?


Happy Spring Feet!

Monday, April 2, 2012

Week 13: Celebrating Spring!

Spring is here, and I couldn't be happier.  I LOVE warm weather, and sunny days, and waking up to the sun, and arriving home when it's still day light.  I love spring skirts, and dresses, and sandals, and bright colours.  I love the flowers and seeing the leaves grow back on the trees.  I love eating meals on our balcony.  I love not having to wear a jacket.  Spring is the best!  

Note:  Summer used to be the best, but then I moved to Turkey, and learned to LOVE this in between weather.  In a few weeks summer will arrive in Alanya, as will daily swims in the sea, which are my FAVOURITE thing.  Unfortunately, summer also means sweating through all of my clothes the second I put them on. It means showering two or three times a day to keep this Italian skin from feeling like an olive oil factory.  It means that I lose control of all emotions when we are outside, and I pace like a caged animal when expected to wait more than 30 seconds for anything.

Suffice it to say, I no longer see Spring as yet another month between me and Summer.  No.  I've learned to appreciate this beautifully bearable season. 

To celebrate it's arrival, I'll focus all of this week's posts on Springy crafts. I hope to spread the fever. This is one you'll enjoy catching.

I'll start off with some super easy headband embellishments.

I had this plain old headband left over from when I ripped the GIGANTIC flower off of it, to use on my spring wreath. The flower was cute, but every time I put it on, I felt like I had a bush growing out of my head.  Just too big. 
I also used this skirt-turned-dress project that I never really liked.  Too short to be a dress, to flouncy to be a shirt.  

 Super fun fabric though.

 And a shirt we bought Alan at a second hand store.  My favourite colour, but it fit far too tightly. 

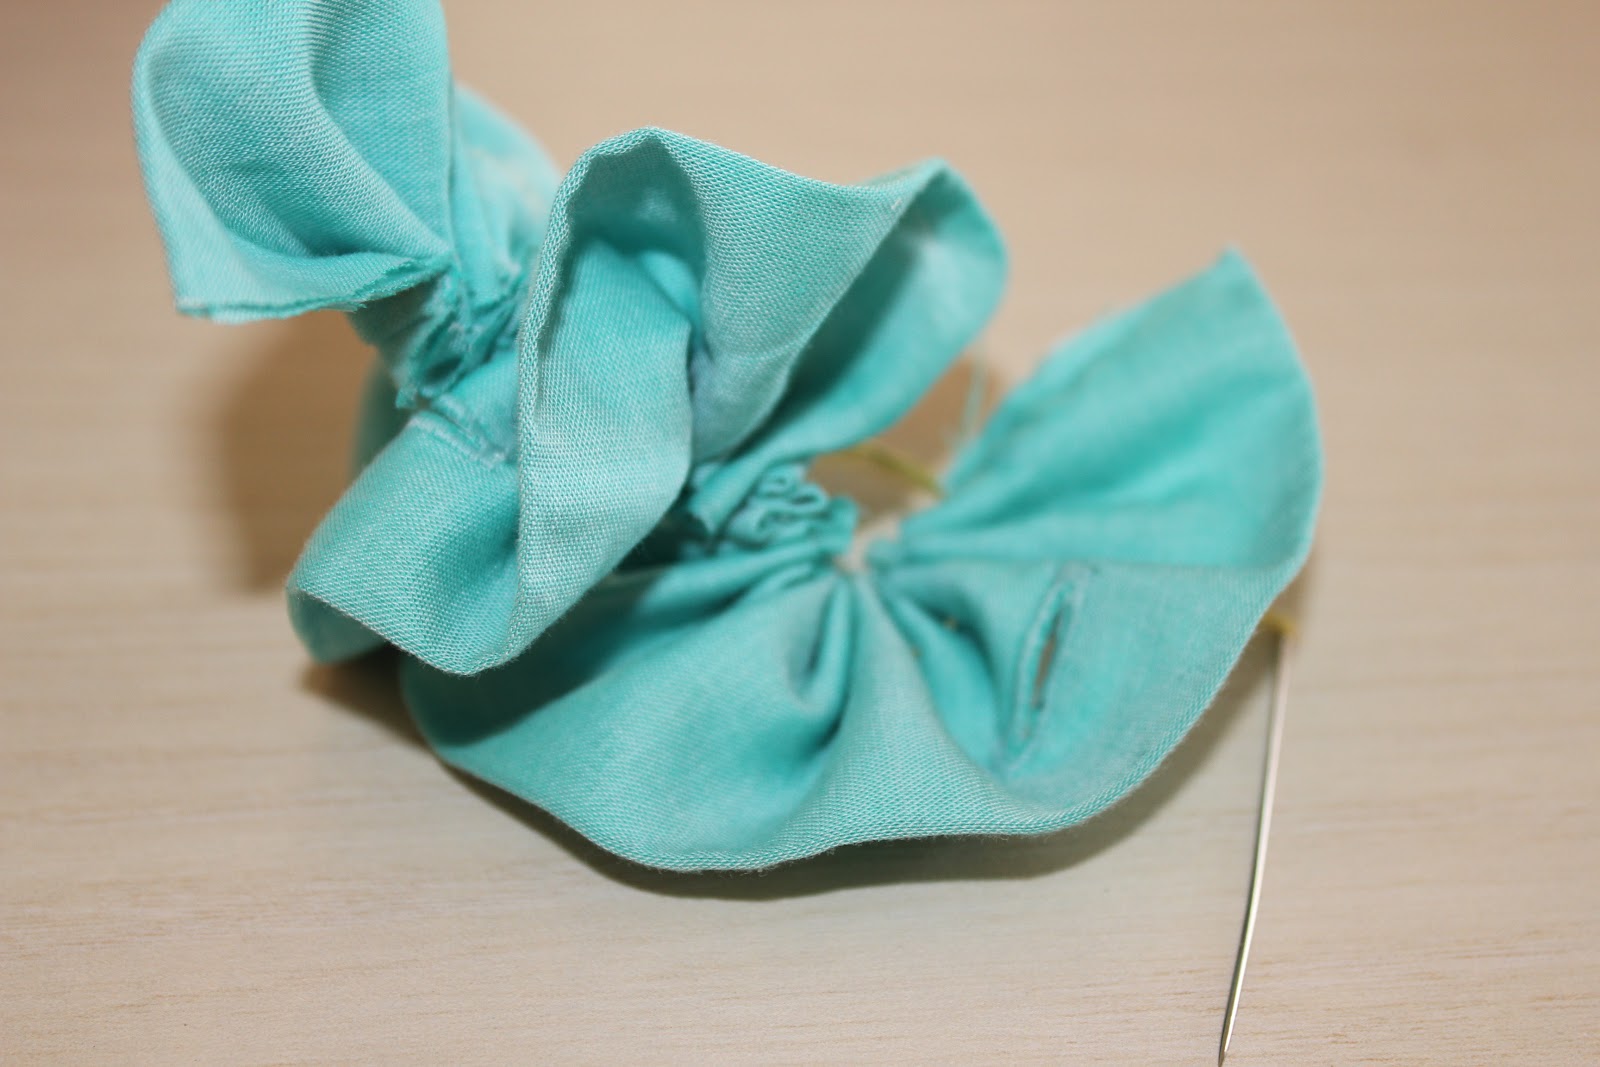
 With the plan to make rosettes, I cut each fabric into a long strip. 

 Then I folded the strip in half, and ran a running stitch down the open end, gathering as I went. 

 I gathered it into a spiral, an used the thread to tack it all into place.

 A button off of the same shirt made a lovely center. 

 Lastly, I sewed a circle of fabric on, to hide the mess on the back, but also to make a little channel for the head band to slide through.  I could have just glued it in place, but thought why make one headband when I can have many?
 I did the same with my dress material...

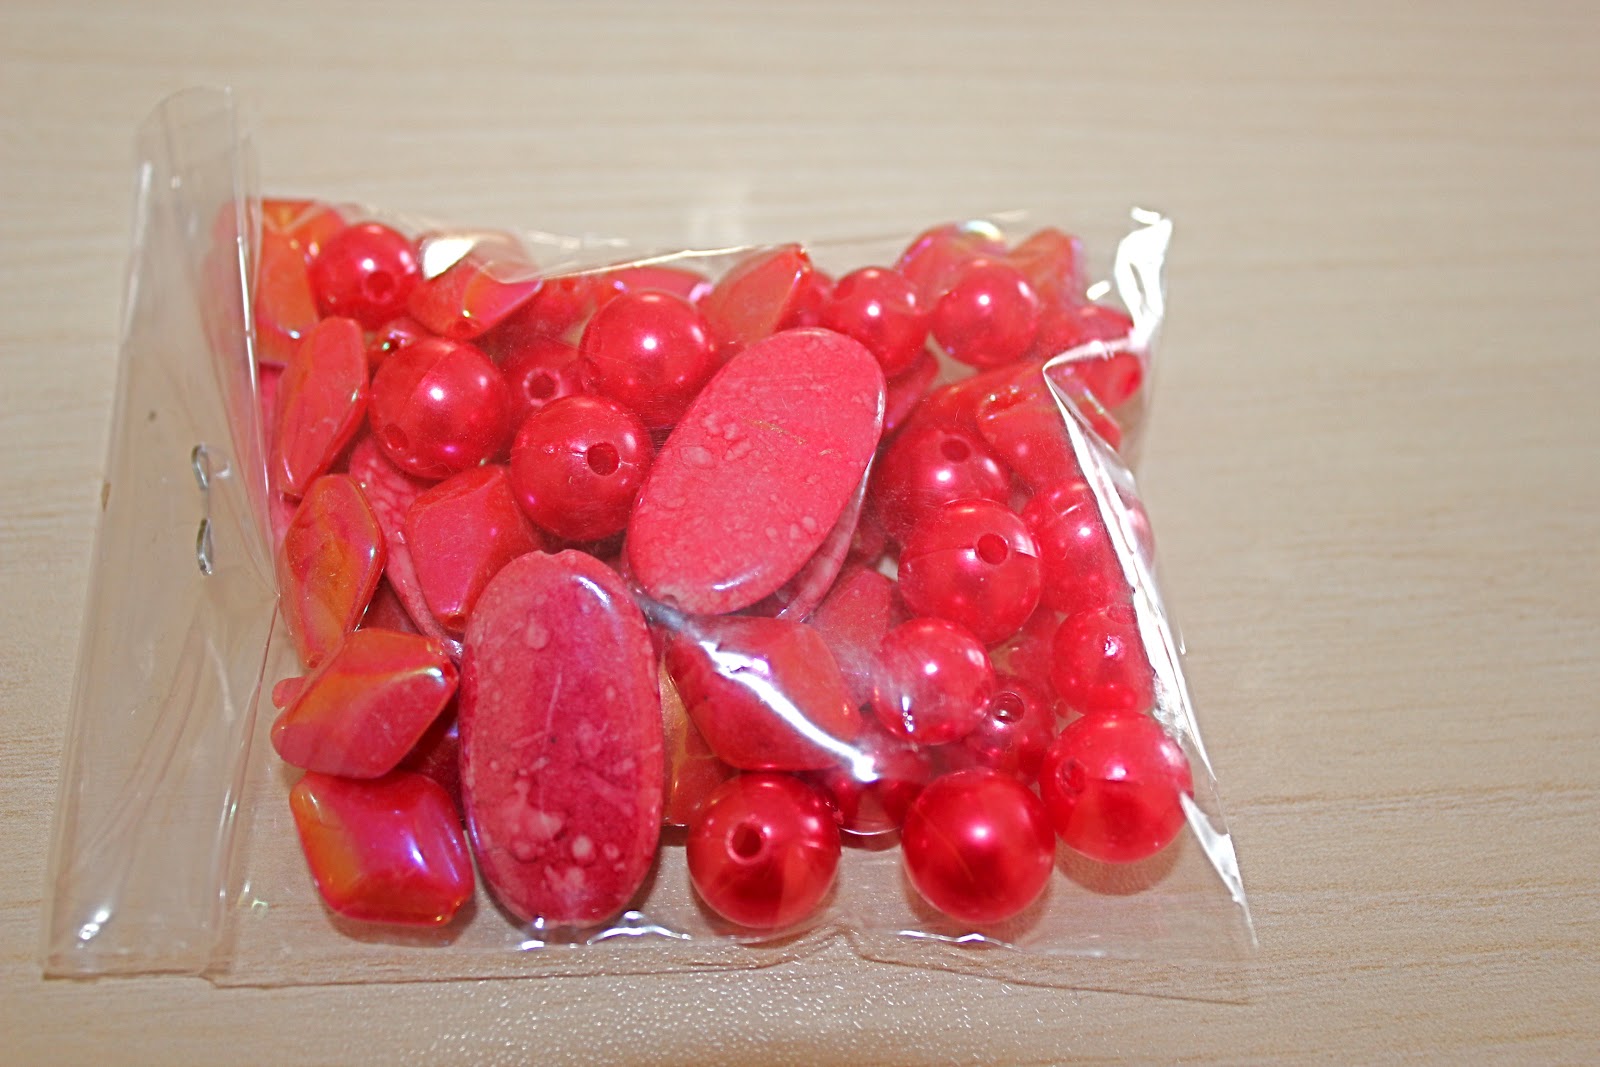
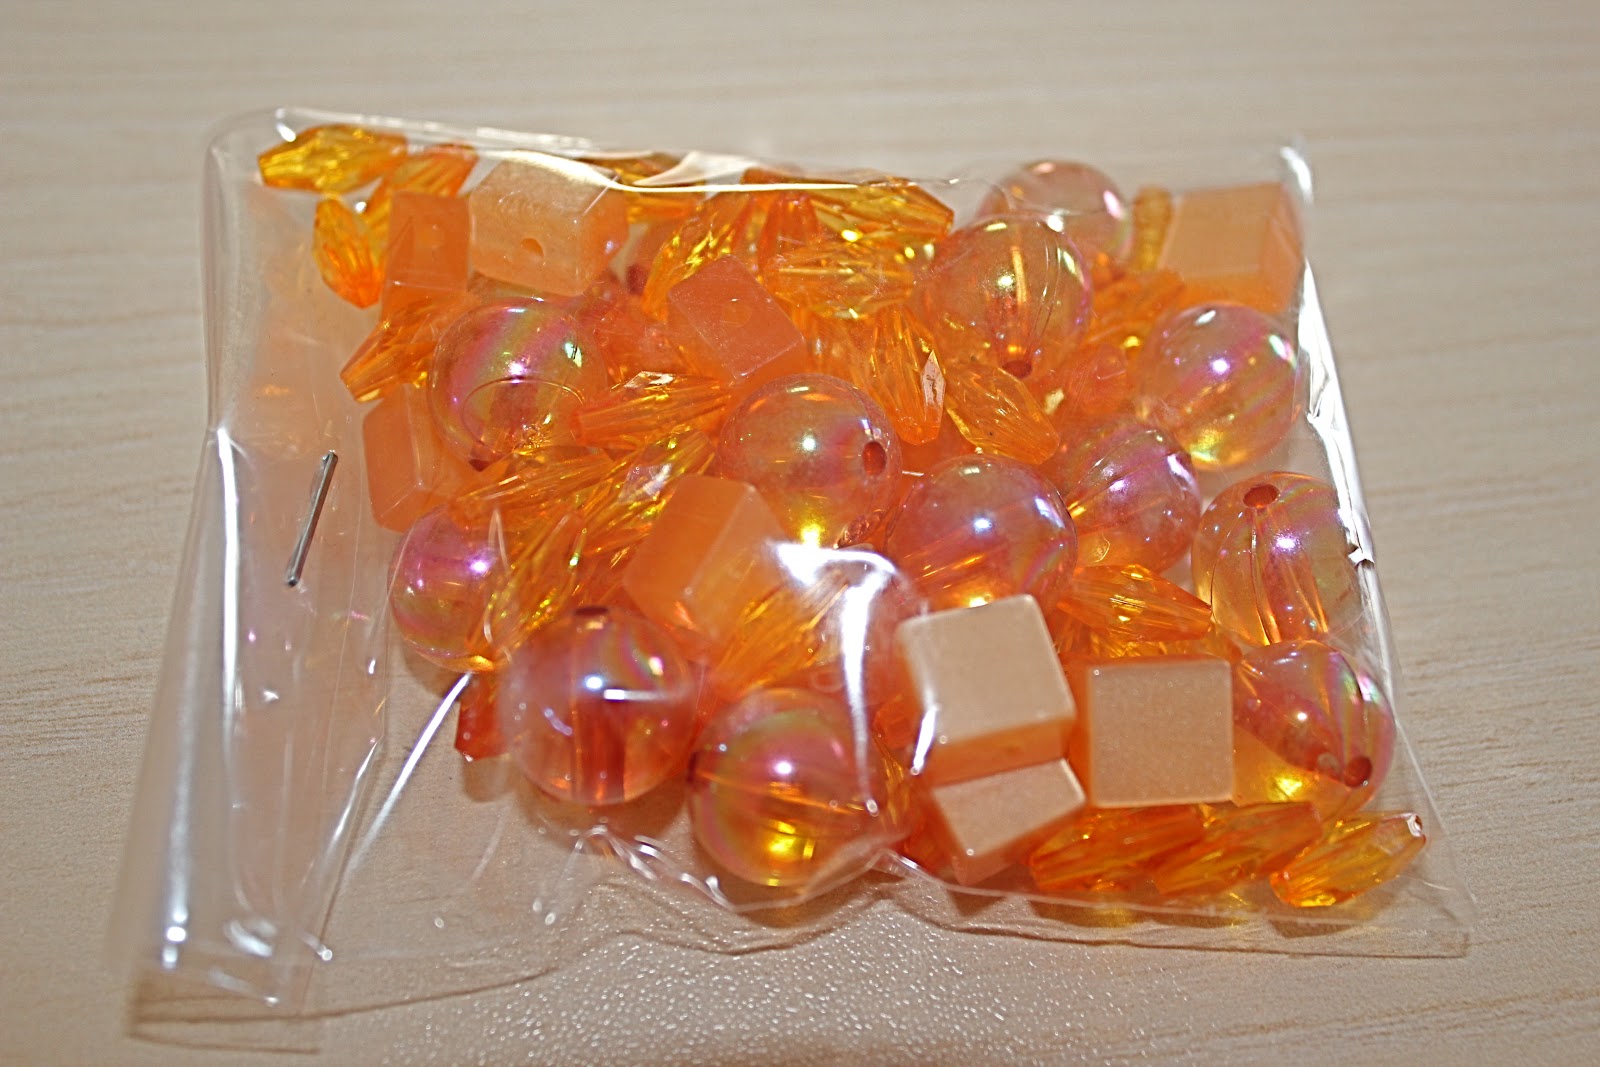
 Used a left over bead for the center...

 And a scrap of hem for the channel...

 It slips on in a quick second, and my head holds it in place. 

 So... plain black headband...
 Pink flower...
and aqua flower...

Three headband. 30 minutes. $0. 

I'll continue to come up with more embellishment possibilities, because the world is my oyster headband.

Happy Spring!