Download my
Top Down Beanie Excel Spreadsheet to figure out how many stitched you should be using to make your beanie the right size. This post contains pictures and commentary, but the spreadsheet contains the actual pattern for the beanie. Use both.
Materials: Yarn (I've used all weights), Crochet Hook (I use my trusty 5.00mm), Scissors, Yarn needle.
Refer to beanie measurement chart. Or measure your own head.
Average Head Sizes (in inches):
New
born: 14"-15" around, 6"-7" tall
Baby:
15"-18" around, 7"-8" tall
Toddler:
19"-22" around, 8" tall
Kid:
21"-22" around, 8"-9" tall
Teen:
20"-22" inches around, 9"-10" tall
Adult
woman: 21"-23" around, 11" tall
Adult
man: 23"-24" around, 11"-12" tall
 |
| Stretch the yarn slightly while you measure, so the beanie fits snugly. |
I wanted to make a toddler beanie, so I chained to 20 inches.
Then
I counted the chains: 52. The pattern I wrote works in multiples of
7, so I rounded up to 56, and plugged 56 into the space next to "Cir. of
Head."
I pulled out the chain, and started work on my magic circle.
 |
| If you don't know about the magic circle, learn about it here. |
 |
| Tighten circle, and Sl st to close. |
During
each of the next 6 increasing rows, I use Sl sts to end each row, and a
climbing chain (2) as each first HDC. I didn't specify this in the
pattern, as it isn't necessary, it simply helps me to keep track of
where I am in my rows.
 |
| Can you see the first stitch in the round? I can! |
 |
| Climbing Chain! |
Once I reach row 7, and am no
longer increasing, I stop Sl stitching to the end of the row. Instead, I
just HDC in each stitch all the way around. Ending a row with a Sl st
and a climbing chain leaves little visible holes. HDCing all the way
around looks more continuous.
 |
| Row 7 finished! No more counting! YESSS! |
Again, I use the online ruler measure the height of my beanie. Once I reach 8 inches I fasten off.
 |
| LOVE not having to get off the couch to find a ruler. |
Now for the ear flaps...
Again... refer to the Excel Spread sheet to know how many stitches wide your ear flaps should be. I couldn't figure out how to make the program round to the nearest whole number, so you'll have to do that on your own. (Does anyone know if there's a function for that?)
The space between the ear flaps in the front should be wider than the space in the back. You don't want those ear flaps in your face.
 |
| Back<--------- ---------->Front |
When you're done making the ear flaps, single stitch all the way around to even out the bumpy edges. I used white just for fun, but also so you could see it better.
 |
| See those rough edges? |
The vertical edges around the ear flaps are somewhat tricky to stitch into, simply because they go from side-of-climbing-chain, to side-of-HDC. Simply try to keep them evenly spaced.
 |
| Aim for one stitch in the climbing chain, and one in the HDC. Repeat. |
Also, while you're going around the corners, add an extra stitch in the corner stitches on the bottom edges of the ear flaps.
 |
| An extra stitch in the corners will help keep the corners flat. |
But on the upper corners where the ear flap meets the beanie chain two spaces together.
 |
| Decreasing around these corners will keep the corners from flaring. |
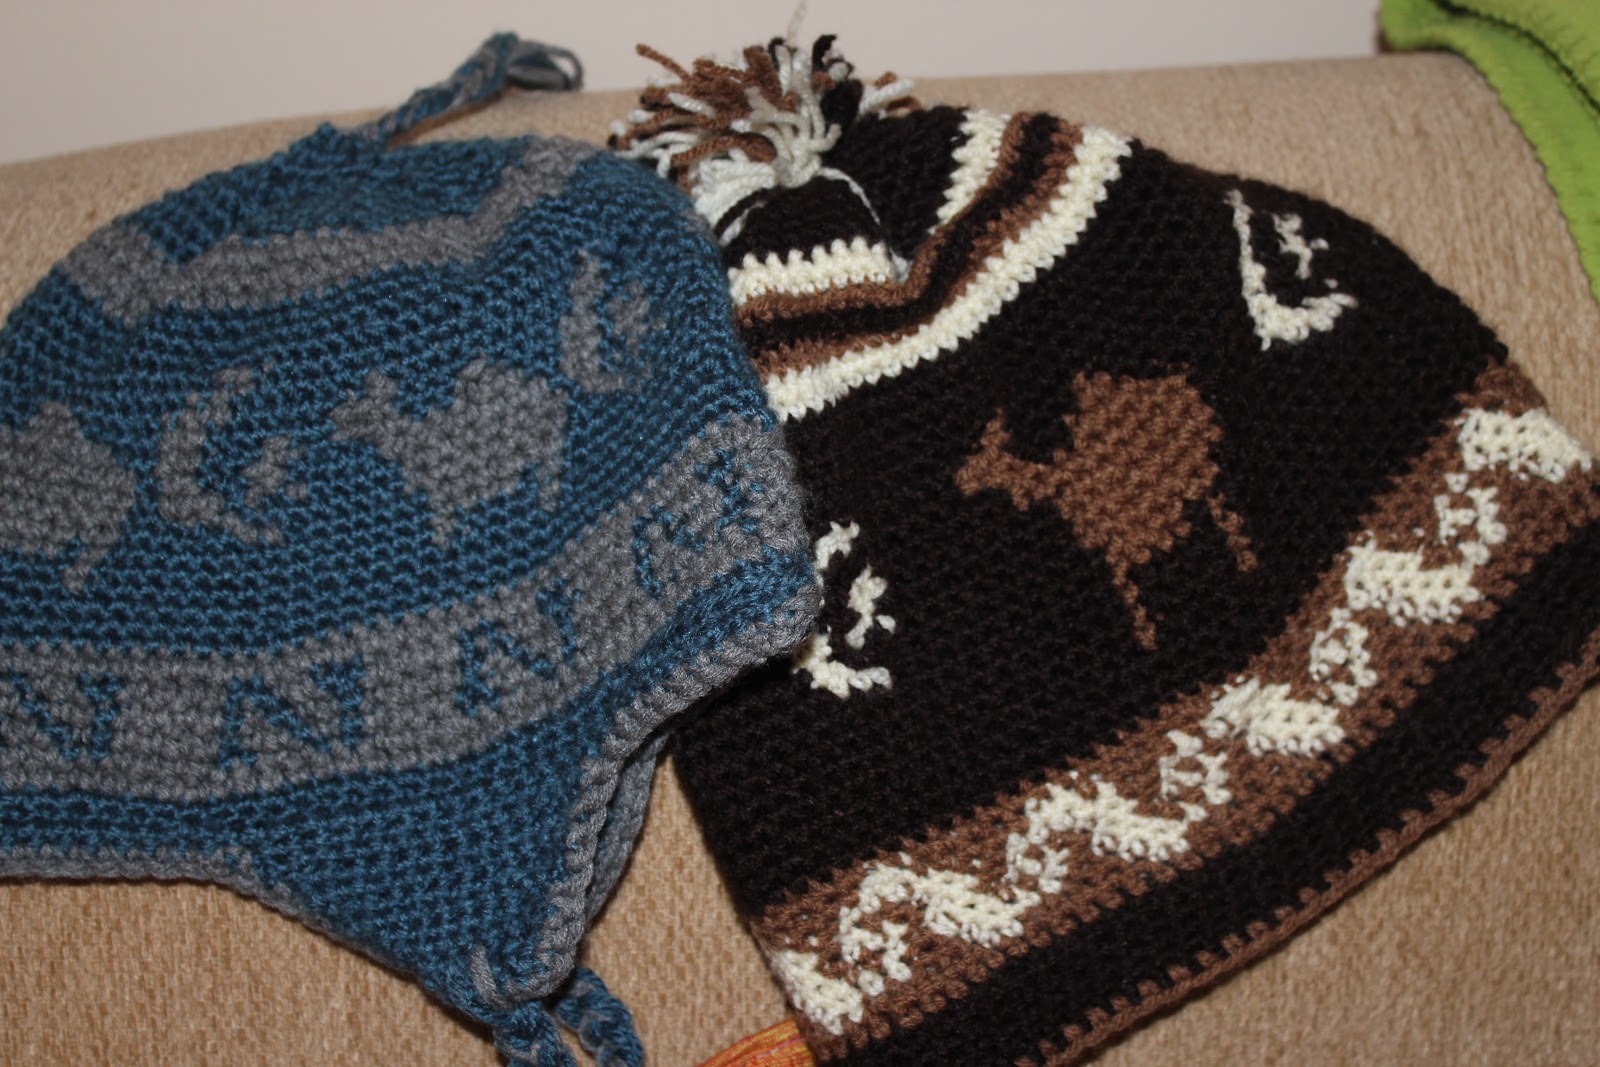
You have just completed the basic beanie that I use for most of my animal beanies! Stay tuned if you want to turn it into a bunny...
Inner Ear (make 2)
Chain 7. HDC in 2nd chain from the hook. HDC to the end of the row.
Row 2-5: Chain 2. HDC across.
Row 6: Chain 2. HDC in first stitch. HCD 2tog. HDC to the end of the row.
Row 7: Chain 2. HDC across.
Row 8: Chain 2. HDC in first stitch. HCD 2tog. HDC to the end of the row.
Row 9: Chain 2. HDC across.
Row 10: Chain 2. HDC in first stitch. HCD 2tog. HDC to the end of the row.
Row 11: Chain 2. HDC 2tog.
Slip stitch all the way around.
Outer Ear (make 2):
Chain 10. HDC in 2nd chain from the hook. HDC to the end of the row.
Row 2-5: Chain 2. HDC across.
Row 6: Chain 2. HDC in first stitch. HCD 2tog. HDC to the end of the row.
Row 7: Chain 2. HDC across.
Row 8: Chain 2. HDC in first stitch. HCD 2tog. HDC to the end of the row.
Row 9: Chain 2. HDC across.
Row 10: Chain 2. HDC in first stitch. HCD 2tog. HDC to the end of the row.
Row 11: Chain 2. HDC across.
Row 12: Chain 2. HDC in first stitch. HCD 2tog. HDC to the end of the row.
Row 13: Chain 2. HDC across.
Row 14: Chain 2. HCD 2tog. HDC 2tog.
Row 15: Chain 2. HDC 2tog.
Single Stitch all the way around. Leave a 18" of a tail, for sewing.
 |
| Clip inner ear to outer ear. |
 |
| Sew on using long tail of outer yarn. |
|
|
|
Pinch the bottom of the ear closed and sew onto beanie just outside the first round. I sewed mine on a little towards the front, and pointing out a little.
Nose (make one):
Chain 7. Single stitch into 2nd chain from hook. Single stitch across.
Chain 1. Single Stitch 2tog. Single stitch into next stitch. Single stitch 2tog.
Chain 1. Single stitch 2 tog twice.
Chain 1. Single Stitch two together.
Single stitch all around to edge.
Leave 6" of tail for sewing on.
Outer Eye (make 2)
Start with a magic circle.
HDC into circle 8 times.
HDC 2 in each stitch all around.
*HDC 2 in first stitch, and one in 2nd* all the way around.
Sl stitch to fasten.
Leave 12" of tail for sewing on.
Inner Eye (make 2)
Start with a magic circle.
HDC into circle 10 times.
Sl st to fasten.
Leave 6" of tail to sew on.
Clip eyes and nose in place and sew on using yarn needle and tails.
That's one cute bunny!
Feel free to use this pattern for your own crafting joys. Let me know if you have any problems or questions. If you post pictures of your bunny beanies on your blog, please refer your readers back to me.
Hoppy crafting! (sorry)

 Who turned it backwards to make a "surfer dude beanie,"
 And one for a friend in Chicago.