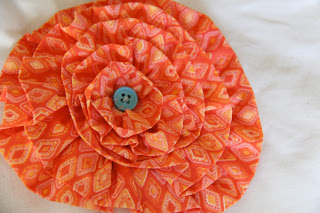
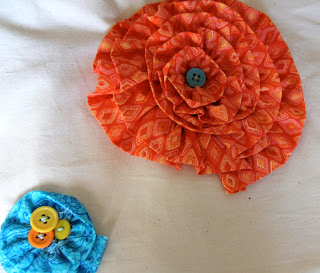
I just love rosettes.
I have another friend getting married this summer, and like all of my other girlfriends, I decided to make her an apron for her shower gift. Again, not because all wives should be in the kitchen, but because aprons make cooking, cleaning, hostessing, and all other activities cuter.
I made a bunch of little rosettes for this apron, all out of scraps of fabric I had. I happened to have a bunch of scraps in her wedding colors. Score!
Each rosette was made with 2 inch wide strips, folded in half (hotdog style) and
sewn using a basting stitch. I didn't bother sewing inside out and
flipping, because I was going to hide all the seams when I spiraled.
The smaller rosettes were made with a 6" (ish) strip, and the larger ones were made with three or four 6" strips.
After basting, I scrunched by pulling one of the threads almost all the way out. (Note: Make sure to back stitch at the beginning of your basting stitch, so the thread doesn't come all the way out.)
Once I had a pile of ruffly scrunched pieces, I started curling them into rosettes. Once I liked the look of them, I pinned them into place. I sewed them on to circles of muslin that were just slightly smaller than the rosettes. I machine sewed, starting with the outside round, sewing so that the folded edge of the ruffle overlapped the seam on the previous round, by a centimeter or so.
Once all the rosettes were made, I attached them to the body of the apron using buttons from my stash. (The apron body was SUPER simple this time. I took a piece of muslin about 2' wide, and 3' tall, folded it in half so that it was 2x1.5, sewed up the sides, flipped and ironed. I left the top open, so that I could do all the hand sewing from the inside.)
I embroidered her new name a few inches from the top of the apron...
used a basting stitch to gather the apron top (shrinking it to about 1'5 at the waist), and then sewed a ribbon on as the waist band.


No comments:
Post a Comment