Showing posts with label Manly. Show all posts

Tuesday, December 25, 2012

Beard Beanie 2.0: Now With More Mustache

Remember the first week of this blog?  When I made beard beanies for two of my favorite guys?  Check out the pattern at Week 1: New Beards Eve.
After those first beards, I got some requests for a few more:
One for a creative friend...
 Who turned it backwards to make a "surfer dude beanie,"
And one for a friend in Chicago.

For most of the year, only a handful of friends checked out the pattern, but as the weather turned cooler, this became one of my most frequently read posts, with over 1000 reads.

So this year I updated it...
Merry Mustache Christmas!
Thank you to my gorgeous siblings for modeling the "handlebar beanie" a monster beanie.

I followed this pattern for the mustache, and then added three buttons to the back of it, so it can be removed from the beard. I also used a button on each side of the beard so that the beanie can be worn by its self.  

For the monster beanie I used my top down beanie pattern, and added some teeny tiny bunting for the teeth. 

Merry Christmas Clowns.  Love you both.

Wednesday, November 14, 2012

Alan's Apron

I may have been in a crafty slump for the past few weeks, but Alan has been quite productive.  So I figured it was time for another round of...
Crafts From His Couch!
*Disclaimer:  We no longer have a couch. All crafts come from the table, the floor, or a cozy chair.  Diana and my mom have both been harassing me about the title of the blog.  I'm not changing it. 
As may be obvious by the picture, Alan not only got into apron making, but modeling as well.  He's a man of many talents I tell you. 

For his best bud's birthday Alan crafted this outrageously gorgeous apron.  His friend had requested something handmade, or something thrifted.  With this beauty he managed to give her both.  See if you can spot the reporposed/garage sale fabrics.

Also, Alan learned the art of ruffling for this project.  Aren't they beautiful? Can't you feel the love?

He added some store-bought ribbon (the only purchased element) for the neck tie and the waist band. He was very pleased with the sweet little x's he made to add flair.

I made a flower and button pin out of some scraps, because I just couldn't resist this adorable apron, I HAD to have a part in it.
Then he had a fabulous time modeling the apron in all sorts of apron wearing situations:
pulling something delicious out of the oven...
and pouring tea from the world's most adorable kettle.

Lori, birthday girl and this blog's #1 fan, recognized all of the fabrics right away:
The floral on the top half came from the piano bench we bought and recovered,
The ruffle of yellow and orange flowers came from a vintage sheet,
The white ruffles are from a curtain we garage-saled,
The bottom ruffle came from the fancy napkins I made.
And the rest of the fabrics came from our scrap stash.

Thursday, October 11, 2012

Our Tiny Garden

Two weeks ago, our plan was to skillfully turn a couple of free pallets into a dining room table and matching benches.  I had suprisingly little apprehension for a person who owns NO TOOLS, and possesses NO SKILLS. 

Alan had enough apprehension for both of us.  But he was managing to be supportive.  He even "blue steeled" it when I took a picture of him sawing the pallet in half by hand.  He's amazing.
A week later we scored some amazing dining room furnature and gave up on the idea to turn that pallet into benches. 
So we were left with a sawed in half pallet... and Alan's dream of a garden.

He took the two halves, flipped them on their sides, and screwed them together using some scrap wood from the hardware store.  He lined the bin with some shade material and filled it with compost and lovely eatible plants.

Red Lettuce

Pansies

Basil

Spinach

Dill

And Rainbow Chard (Yes!)


Total Time and Money Invested:
Around 2 hours
Pallet: Free on Craigslist
Screws: Already owned
Wood Scraps: Free
Shade screen: $6.00
Compost: $5.99
Plants: $10.00

Total: $21.99


Thursday, August 16, 2012

Week 31: My Husband: the Crafting Superhero

This summer, it seems like all of my friends are getting married. I'm trying to be as helpful as I can, and some friends jump on signing me up to make tons of stuff, while others really don't need any help. When one of my dearest friends, Molika, called 4 days before the wedding with only her second request for help, I agreed before I even knew what she wanted.

Then I asked what she needed help with.  And was very confused.  All I kept hearing was something about "Corn-hole." Really, I  must have a bad connection. There is no way she was asking for "Corn-hole help."  Being from California, I had only ever heard that word used as a foul reference to one's butt.  Eww.

As it turns out, Corn-hole is a real thing in the Mid-West.  A game that involves throwing bean
 bags, (or corn bags) into a hole in a wooden platform. 

Oh. Ok.  You want me to make some bean bags? No problem.  I'm all over it.  I don't even have to go to the fabric store. 

But then there was a problem.  A BIG one:  that night, while attending a friends birthday party, and playing a spontaneous game of hide-and-seek, I laughed so hard I managed to throw my back out.  

I'm getting old people. I spent all night and the rest of the next day writhing in pain. Insanely frequent spasms made talking, moving, laying, and breathing almost impossible.  At 5am I managed to get out of bed to go to the bathroom, and ended up in a sobbing puddle on the floor.  Certain death was just around the corner. 

The next morning, when my AMAZING husband asked me what kind of fabric I thought I might use to make those bean bags, I told him that I didn't think I would be able to make them that day, maybe tomorrow.  

At that point he threw his glasses to the side, and like a speeding bullet his PJs turned into a Lycra jumpsuit, with a big H on the front, with a cape floating behind him.  (I don't know where that guy got a wind machine, but it really had a nice effect.)

"Of course you can't make them, my dear! I will make them! All while bringing you water and food, changing the DVD, and helping you stand when you need to pee. Super Husband!"
So he did, and he made them even more adorable than I would have.  
He used 8 fabrics in 4 color schemes for the fronts (and patch-worked them because he is THAT good).

For the back he used double layers of burlap, because Molika had no color pallet to match, but had used quite a bit of burlap in her decoration. Then he sewed on two color patches so that even if the bags landed upside down the people playing would still know whose was whose.

After filling with beans, he closed them all up with a running stitch. 
Best husband EVER.


As it turns out, Molika and her husband are super crafty.  The kind of crafty where they do amazing things with wood.  Like build a whole wall out of old doors, and an archway out of an old garage door.  They made cocktail tables and even an outdoor sink out of wine barrels and huge spools.  And they even built the Corn-hole platforms.

Which they painted with their silhouettes!  So cute!

Diana and her dad loved the game.  Action shot!

Niece/flower girl, Liv, didn't know the rules apparently.

She still had fun though.

See the doors and part of the archway?  Beautiful.  And those doors extended all the way across the yard.

They really turned their backyard into a magical place...

Not to mention how stunning they looked.

Congratulations Molika and Brandon!  I'm so happy for you!

Thursday, February 16, 2012

Crafts from HIS Couch


Guess who taught her husband to crochet.  This girl. 

Guess who can't stop crocheting now.  That guy. 
 PS:  I'm half sorry for the ridiculous pictures.  But I love them.

Anyway, back to my crocheting husband:
I swear.  He has gone from licking his lips raw, and grunting in frustration, while twirling yarn and hook randomly, to following patterns and churning out new projects every night.  Clearly he's no average student, and I am no average teacher.  So don't be intimidated by his mad skills.

This is what his couch looks like now. 


But this was his first attempt.  At a stitch sampler.  Nice huh?

I know what you're thinking:  What is that?!? And why did they save it?!

It's an ear warmer. Obveously.  And it's COLD in our house.  So it might have gotten a lot of use.  If he had made two.  Alas, the "pattern" was a series of random mistakes.  Hard to duplicate.    
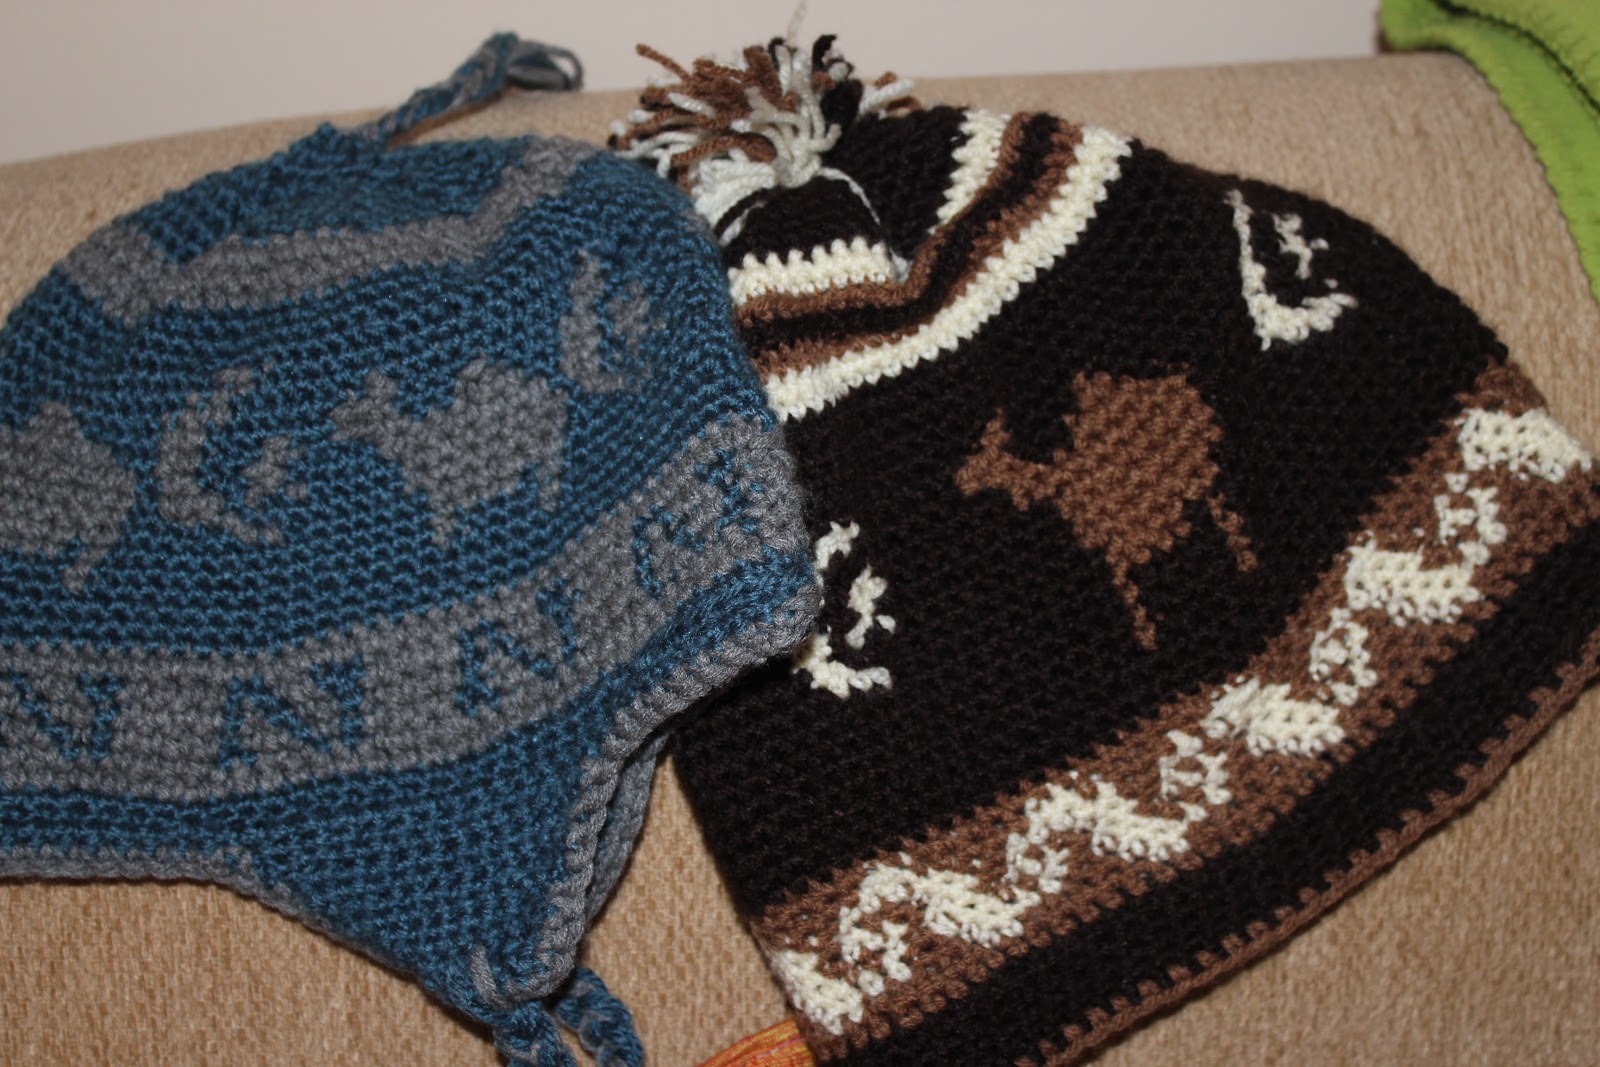
  
   
 But he got pretty good right away, and by the time we headed to Budapest he had beanies for every outfit.
 
 He even wrote his own pattern and made some pretty sweet camel beanies.
  
Even when he had made far more than he would ever need, he kept on hookin.' (haha).  He made some gift beanies... 
  
And a huge, soft die as gift for his classroom.
  
And a bag to help me fill out some orders I have.

So far this is my favourite though. 
 Isn't this basket, made of all of our yarn scraps, BEAUTIFUL?!
And so useful!  We really needed a home for our overflowing yarn collection. 
  
He even added handles, and a pocket for all of our hooks and scissors.  

 I can't wait to see what he makes next!


Thursday, January 19, 2012

Week 1: Beard Beanies

Beard Beanies!  Made for Bryan and Alan on New Year's Eve.

I found what seems to be the ONLY FREE BEARD BEANIE PATTERN IN THE WORLD (here).  Thank you, Gumbo, for your pattern, your ideas and your generosity. Her blog "Gumbo Soul"  has these beards attached to Viking beanies.  SO cool.  Check her out!

Unfortunately, she changed the pattern after I finished Alan's and I can't really make sense of it anymore.  Luckily, her example, and my memory of Alan's were enough for me to make Bryan's on my own.  So I figured I'd write up my own pattern and now there will be two free patterns available out there!   Woo-hoo! 

Food for thought: Beards come in all colours, thicknesses, and textures.  So should beard beanies! I did Alan's thick and bushy (like a Leprechan's) with a bobble stitch, but I did Bryan's a little flatter and scruffier, with a crazy stitch.  I've seen them done more simply with a half-double, but I didn't really feel like that looked.... authentic...? (Authenticity: that's what we're going for with the beards made of yarn that attach to a beanie.)
crazy stitch


Bobble Stitch


*Crazy Stitch Tangent:  Does anyone know the correct way to decrease stitches when using something like a Crazy or Scallop stitch?  I ended up just Slip stitching from the top of one to the top of another without making the actual stitch in between.  It worked out just fine, but can that be right?*


Anyway, play around a little bit online, until you find a stitch that you think looks like a beard. 

Do the same at the yarn store.  I used sport weight yarn and a 5.00mm hook, for these, but you could use a much thicker, fluffier yarn, or one of those fuzzy, feathery, eyelashy yarns, to make it look more like real hair.

This does pose a slight pattern writing problem, because all of your different yarns, hooks, and stitch types are going to make for infinite possibilities in number of stitches.  But that's OK, because all of our faces are different too! And who says babies, with their teeny, tiny faces don't need beard beanies too?

Cus they can't even grow real ones.

Babies may need these most of all.

Also, girls can wear beard beanies too, even if my husband thinks it looks WAY too realistic for comfort.

Back to the point though, I am going to attempt to make a pattern that will work for ANYONE, regardless of face size, yarn type, hook size, and stitch choice.  I shoot high, what can I say?

 Warning #1: I have never written a crochet pattern before, so I apologize if this is confusing.  

Warning #2: I'm going to try and make these size variations using an Excel Spreadsheet.  Something   else I have NO experience with.

Due to Warnings #1 and #2, please let me know if this pattern and attached spread sheet work, or don't work for you.  I would love to make them better. 

About this pattern:

  • Skill level: medium. If you can read a pattern, and know how to do different stitches, this project is SO easy, and can be completed during your favorite episode of Big Bang Theory (doesn't this seem like something Sheldon would wear?). If you'r new to crochet, learning the different stitches and following the pattern might take some more time.  But you can do it!
  • This pattern is really only for the beard, works with any beanie pattern. 
  • The other patterns out there have you stitch the beard directly to your beanie, which you could totally do.  I figured I might want to wear my beard with all sorts of beanies though, or possibly interchange a few beards too.  I didn't want anything permanent.  Luckily, most crochet and knit beanies have big enough gaps between the stitches that you can squeeze a button right through.  So I just sewed some buttons on the top corners of mine for easy attaching and detaching. This will mean that you can see the buttons on the outside of your beanie, but I think that's cute. Hopefully no one will guess based on your buttons that your beard is less than real. :).
  • Abreviations: 
    • Ch: chain
    • t-ch: turning chain
    • HDC: Half Double Crochet
    • Sl st : Slip stitch
    • 2tog: stitch two stitches together. aka: decrease. 
    • SoC: Stitch of choice.  I made this one up.  It's just the stitch you choose to work your beard in. 
    • CrzyStch: Crazy Stitch (what my beard is worked in)
  • Materials: yarn, hook, (both your choice), needle, thread, buttons (2 or 4), scissors. 

Download now!

Can you say pitiful?!
Sad hudband of etsy?
If you end up making a beard, please let me know how it turned out.  Send me a picture even (erinmoschetti@gmailcom), and I can feature it on the blog.  Feel free to use the pattern to make your own beards for personal use, or to sell.  Please refer back to my blog if you feature your beard on your own.  Thanks so much!  
Happy crafting.