Showing posts with label Drill Baby Drill. Show all posts

Thursday, December 13, 2012

Beach Washed Christmas Tree

 Remember the beach washed wall art I made out of left over fence boards? 

Well I absolutely love it. 
 I love looking at it at night when I climb into bed, and being greeted by it when I wake up in the morning. It's one of my favorite crafts of the year.

And guess what?  I had enough wood left over for one. more. thing.

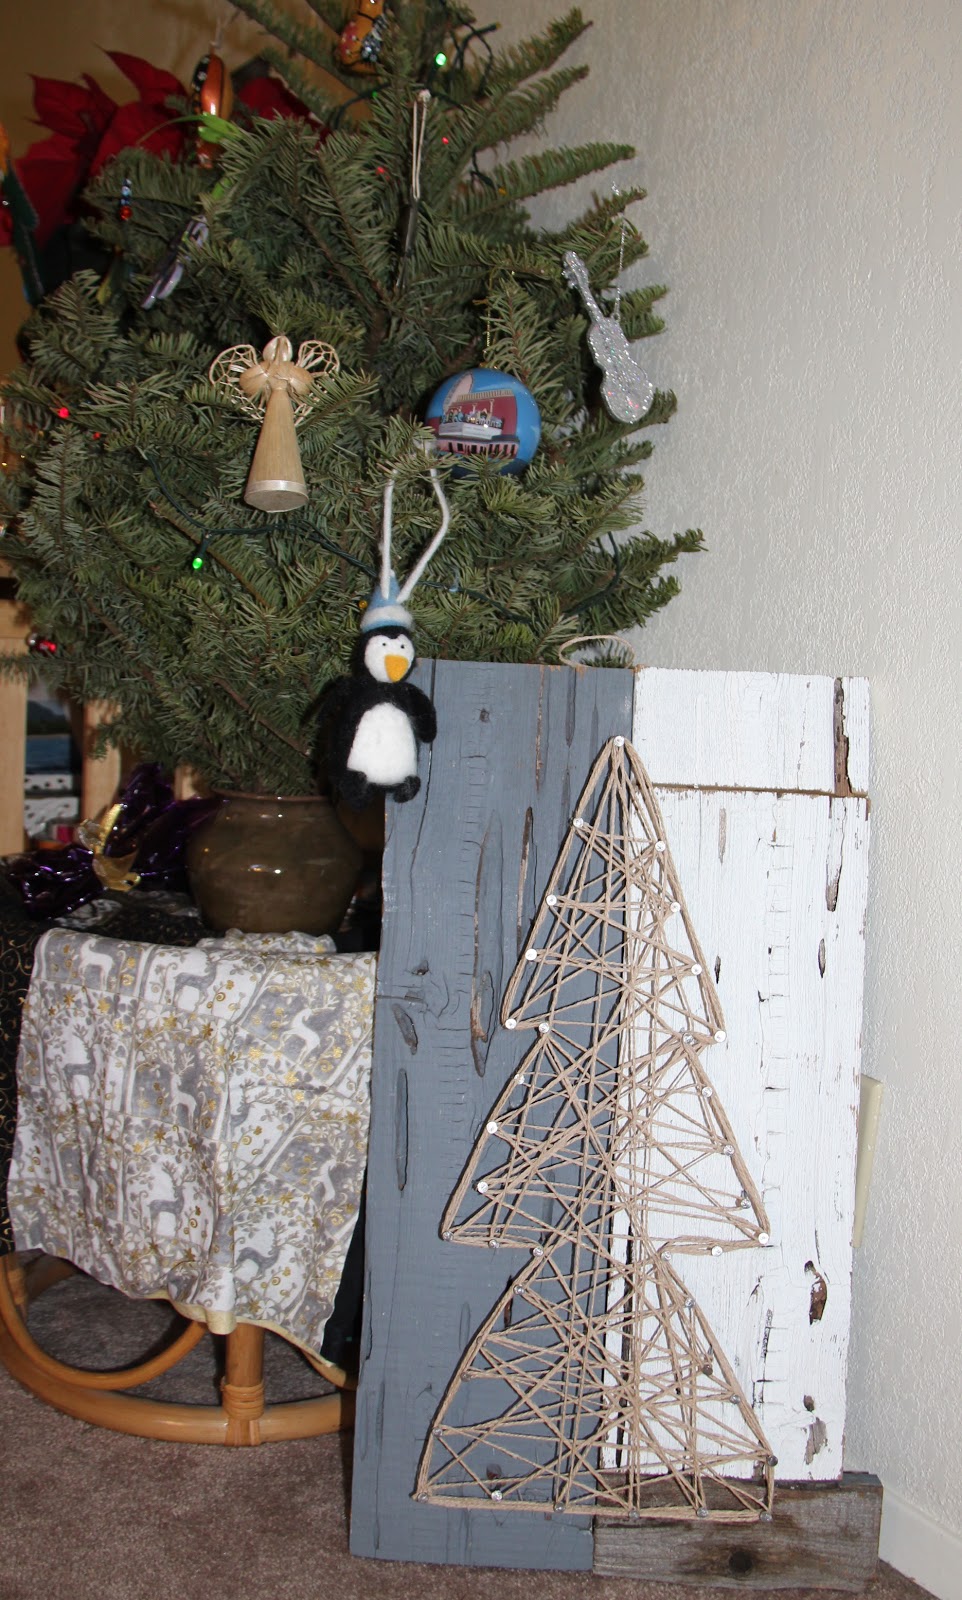
Beach Washed Christmas Tree!

I had 6 pieces of fence wood left over, and 4 fit together decently. (Pay no attention to the fact that the bottom board is a little wider than the rest.  I don't own a saw.) I used a fifth piece, along with some other scrap wood, to screw all the pieces together. 

Then I screwed in some little hooks, and strung some twine through it.  (I've found that twine is the BEST hanging method.)

Then I hammered in a ton of nails to outline the tree...

And strung a crazy amount of twine around the nails. 

A CRAZY amount. 

Beach Washed Christmas Tree, meet our other Christmas tree.  You guys can hang until I find you a more permanent home. 

Saturday, October 13, 2012

Dining Room Table. Now With Hella Character

In our quest to thrift an affordable apartment, we've picked up a bunch of free items. Free pallet+free fencing=free table, right?  Actually no.  This project was kind of a comedy of errors. When it came to all the money we spent on supplies for this baby, we could have bought something new. And not spent multiple weekends building it. 

But when it came time to calculate all of the things we were buying, and I turned to my husband with a defeated sigh, and offered to give up, he rallied.  He sweetly reminded me that this table (and life) wasn't ALL about saving money.  I had goals and ambitions that building a table would meet.  I had dreams of learning how to woodwork.  I had fantasies of a beautiful recycled fence table. If we had to spend a little more money for me to have this experience, he felt it was worth it.  Even if he kind of hated the idea of eating dinner on the gross old wood in the trunk.  Love that guy.
So I bought a blade for the blade-less saw our friend had.  Also we bought a face mask, and I donned some goggles.  Because "safety first" my friends. 

Also, when using a saw, safety suggests that one should focus on one's work, rather than the camera.  So this is my safe action shot.
I started by cutting the fence boards into manageable pieces.  The I started doing the math.  I wanted the finished table top to measure 30"x42" which would give a small overlap on all sides of the pallet. With 6" wide boards I needed 5 rows.  I cut the best parts of the boards down to 21", and then I cut those pieces somewhat randomly so my mosaic would look more lovely. I also cut one AMAZING slat 42" and then left it as is.  Alan pointed out that the holes that I felt gave it its beauty were also the places that would drive everyone setting a glass down crazy, but with it placed in the middle, I think we'll only be setting serving dishes there.
Then I laid it next to the pallet we had spray painted for this project, and all of a sudden I HATED the turquoise. I even hated it when I sanded it down a bit.  So we stopped our project there and went to pick up some navy.

Much better. 

I laid out all the fence pieces in a way that I loved, and then I flipped the whole thing over, and laid the pallet on top.  Notice that the way I cut my fencing, the pallet slats lay perpendicular to the fence slats, rather than parallel. I have a feeling attaching would have been much more challenging the other way around.

I checked all four sides to make sure that they all had an even amount of overlap...

Then I screwed it in with a million screws. I may have gone a tad overboard, but the table top is secure, which was the goal. 

I got hot and cranky right before the last slat, and Helpful Husband jumped in.  Thank goodness. 

Because this may or may not be lead-based paint (don't judge me) it was super important for me to cover it with a sealant.  First though, I would have to remove all dirt, grime, and spiderwebs...

I used an entire can of sealant, which allowed 5 solid coats.  While those were drying I sanded and painted the 2x2s we picked up for temporary legs. (I really want some super industrial looking legs like metal hair-pin legs, but those guys are EXPENSIVE, and we aren't sure how much we're going to love this table yet).

We drilled the legs in using some L-shaped brackets. And our project was complete!

I am so happy with how it turned out.  We've only had one thing tip over because of less-than-careful placement, Woo-Hoo!  If we end up LOVING this table too much to get rid of it, we'll probably get some glass cut to cover it,  but for now I have a fun place-mat craft planned. 

Total Cost and Time Spent:
  
Lots of time... 10 hours over 2 days?
Pallet: free
Ceder fencing: Free
Safety mask: $4.97
Saw blade:$19.00
Screws: $6.47
Sand paper: $9.97
Teal Spray paint: $3.87
Navy Spray paint (2): $8.98
Sealant:$3.87
Table legs: $5.48
White paint: Free (left over from chairs)
Brackets: $7.98

Total: $80.50

In the end, it's unlikely we'll ever make our money back on this table, but it was fun to build and it has "Hella character."  Thanks for saying so Bryan!

Thursday, October 4, 2012

Week 38: Fenceboard Wall Hanging

 Hey!  Remember when I picked up all this GORGEOUS ceder fencing for free?!  Remember how I was obsessed with it, but Alan was feeling warily supportive?  Remember how it then lived in the trunk/backseat of the car for weeks, and our car got super buggy? Well I've made something out of it!
I'm actually still in the process of making a table top with it, but I finished an art piece with some scraps.  Yeah!
 I had to cut it all up into much smaller pieces.  So I had to figure out how to use this crazy saw thing.  I'm basically amazing at it, seeing as I still have all my fingers. 

And look at those smooth lines...

So I took some left overs of differing widths and laid them out to make some signs...

LOVE this scrappy wood.  

Then I flipped  them over and added some scrap wood left over from a friend's wine rack project. I screwed them together with a drill.  Slightly challenging because of the wood's OLD quality.  Notice I didn't say "poor quality."

Then I nailed a heart into the front of the wood.  I drew a heart on some magazine pages, cut it out, and nailed all around the edges.  I LOVE plump hearts so that's what I made. 

Then I strung twine all around it, and decided that this heart is too plump.  Filled in with twine, all I could see was a butt. Bummer. 

So I pulled some of the nails out and re-wound the twine. The nail holes aren't too noticeable thanks to the somewhat holey nature of the wood. 

Then I made an E for Erin...


And an A for Alan, to go around the heart. 

Because that's the truth friends.  Man I love that guy.  I love how patient  he's been with this garage sale-ing, wood gathering adventure I'm dragging him along on.  I love how he fixes up my bike for me without me having to point out that I don't know about bikes.  I love how hard working he's been, even though his current job is part time, which means I'm "bringin' home the bacon."  I love how he actually makes sure to pick up bacon to cook for me when I'm on my way to work, and how he wakes up with me at 5:30 so he can send me to work with a warm breakfast and a lunch with little notes and a sandwich shaped like a heart.  I love this guy, and art that proclaims it. 

A few more notes on making this art:
  • If you're working with antique wood like me, you may need to shout expletives every now and then, when all the nails and screws come out.  This might be an easier project with newer wood.  
  • To hang the signs, I screwed eye-hooks into the pieces of wood that hold it all together.  I figured that the older wood wouldn't be strong enough to hold it together.
  • I tied a piece of twine between each hook, and then hung it on a nail.  SO EASY!
Supplies and Cost
Wood (free scraps of fencing)
Twine (Free, left over from wedding crafting)
Screws (Free, left over from table project)
Huge box of Nails ($4.59)
Eye Hooks (free, in possession)

Saturday, August 25, 2012

Week 34: A Home for my Jewelry

 My jewelery has traveled around the world with me a few times now. And my necklaces are pissed.  They let me know how much they hate their cramped living quarters by tangling up in a nasty knot. 
Now that we're back in the U.S. for a while I figured I would craft them a nice new home.  

I knew I wanted it to be made out of some old rustic looking wood, and adorable drawer pulls.  Then I remembered that we had saved all of the signage from our wedding in Alan's parents' shed.  Score.  Free, sentimental, and up-cycled.  Can't beat that. 

I settled on the sign we made to designate our desert area...
Tatlılar means "sweets" in Turkish.

Then I scooped up a bunch of sweet drawer pulls at the Habitat for Humanity shop.  They aren't the Anthropology pulls I was dreaming of, but they were only like 50 cents each.  Much more appropriate for my current budget. 
The screws pictured are also from HfH, and were a pain in the butt to find, as nothing in the store is very organized.

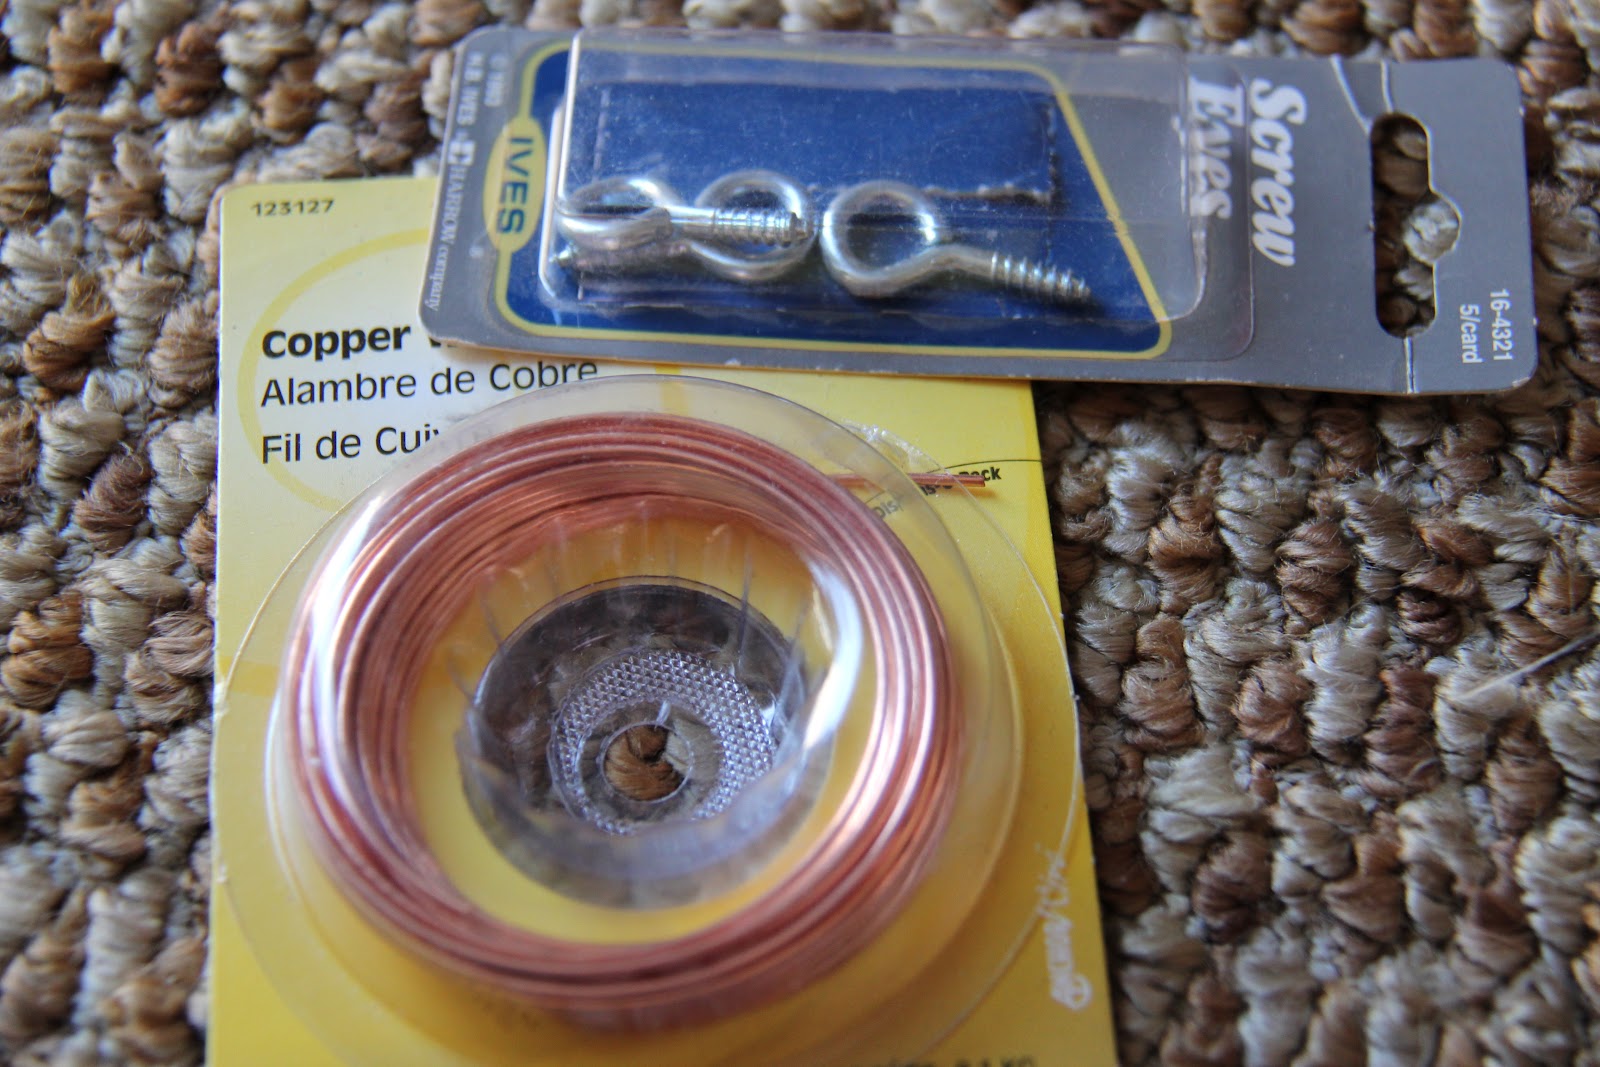
Other supplies included eye screws and wire for hanging.  Nothing matches, but that's OK because it's what I had on hand, but also the mis-match goes well with the shabby-chic feel. 

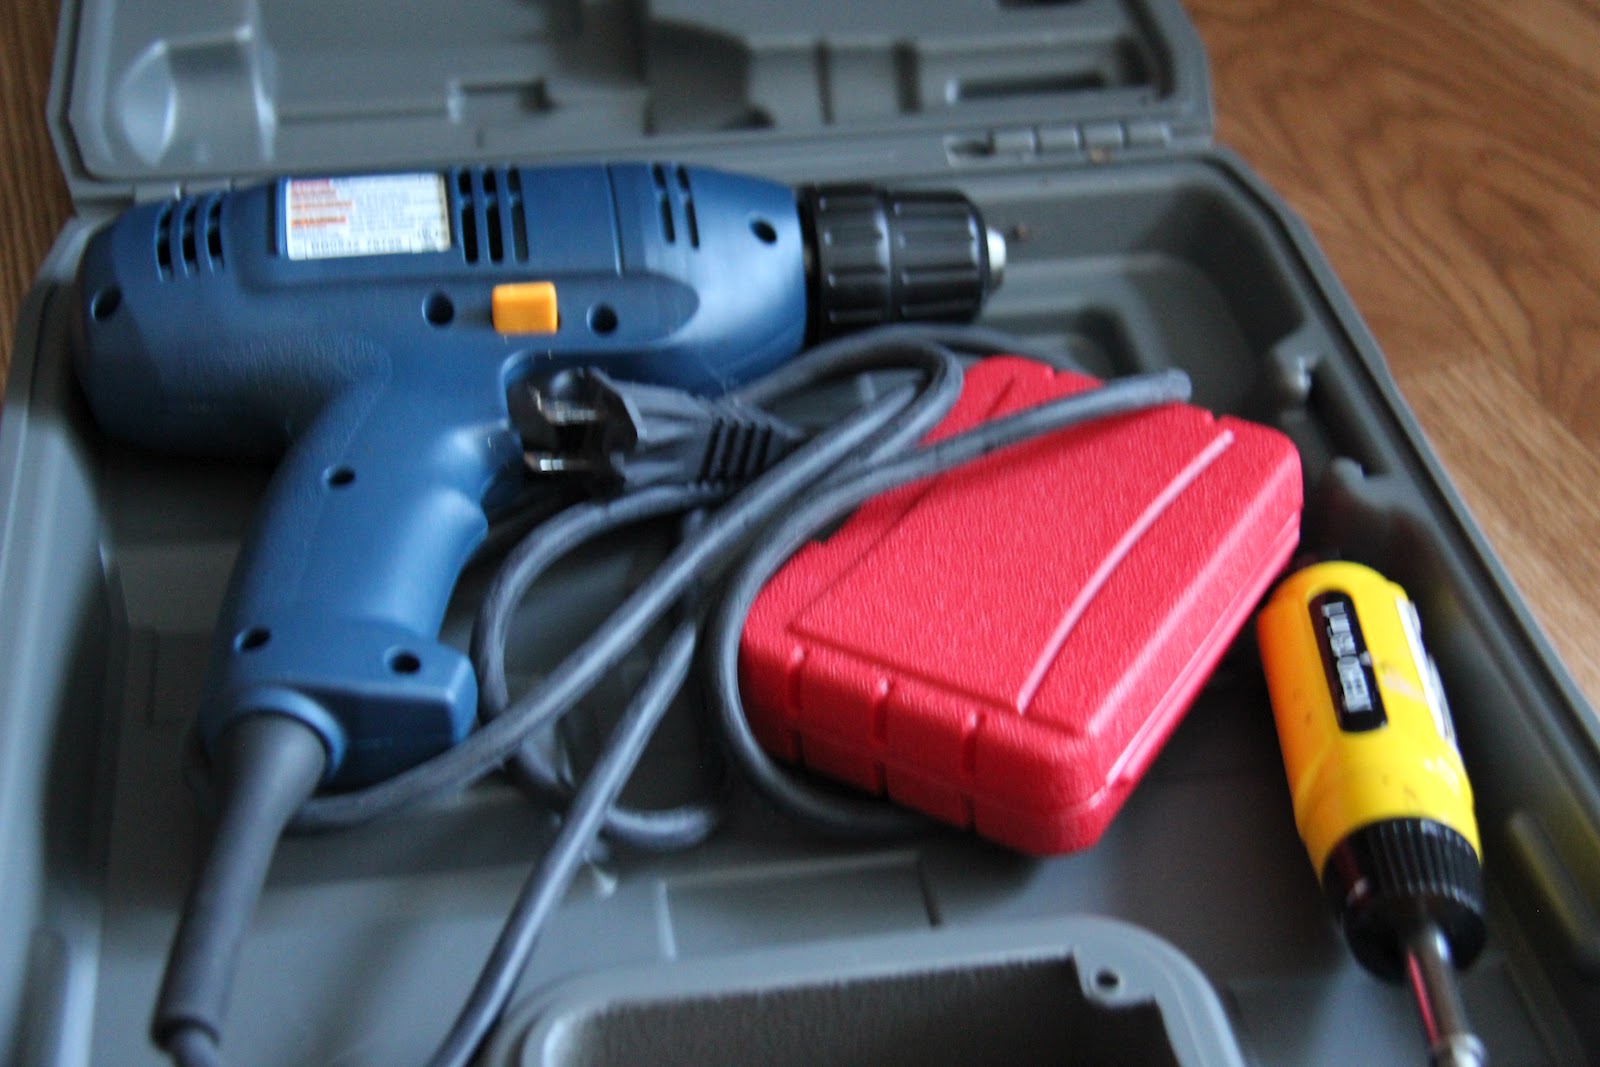
Also used: handy power drill and screw driver

Also, you'll need some sort of work bench to drill upon.  I don't have one though, so I made my own.  Out of a phone book.  BEST. IDEA. EVER.  Cause who even uses those things anymore anyway?  And once your finished, and you have a somewhat holey phone book, you could use it for some sort of fortune telling, or prank calling game.  If you're 14 and at a sleep-over. 
So.  I measured out and penciled in 8 spaces to drill, and got to work. 
Unfortunately, after I drilled all my holes, I realized that the screws I hunted for were too short to go all the way through and catch the knobs on the other side.  Drat. 

So I gave up for the day, and started to put the wood back in the plastic bag it had been living in for a year. 

Then something scary happened.   A cockroach the size of my thumb fell off of one of the two things in my hands, and landed RIGHT ON MY FOOT. So I threw both things, and locked myself inside.  For a month, until I was ready to face it again.  

This meant getting a few more supplies: Raid to kill all the cockroach babies I was sure were hiding in the wood, and sealant to keep them out in the future. This might not be the right kind of sealant, but it's what I had on hand, and I'm nothing if not cheap.

I also needed to tackle another fear before I could get started again: Aisle 14.  The screw and nail aisle of Home Depot. UGH.  That aisle ruins the whole store for me.  I can't enjoy the paint chips, or the tiles, or the garden section because I know that Aisle 14, with it's insane array of nails and screws is looming in the distance.  I just don't get it. Can't we all just agree upon the most perfect screw, and sell it in a handful of lengths.  Do we really need 900 variations?
 There is no way the average person can manage that aisle without the help of someone who works there.    My guy found me these:
 Apparently they are screws made just for knobs.  Of course the package calls them "Machine Screws." I NEVER WOULD HAVE FIGURED THAT OUT.   

The short one is one that happened to come attached to one of my knobs.  Too short.  The long one is the one we settled on.  FYI the proper length to make it through a 2x4 and into a drawer pull is 2".

 Except not for that knob on the left.  That one had hardly any screwing space, and stood WAY off the board with the long screw.  Good thing I still had the short one. 

I added two eye screws to the top edge of the wood, and attached the wire for hanging. 

Then I added 6 little guys to the front, above the knobs, as a place to hang my earrings.

Ta-da!  I still have to spend a few hours coaxing my fine-chained necklaces out of the mess they are in, but I am fairly sure they will LOVE their new home. 

Added bonus:  after all the time I spent in Home Depot, and using a power tool, I have decided to check off one of my 30 before 30 goals: Learn to woodwork.  This may not technically count, but there WAS wood involved, and 30 is sneaking up on me rather quickly, people.

Sunday, May 20, 2012

Week 20: Gourd Lights- Part 2

For Week 18, Alan and I picked up some gourds and got to work cleaning them out and designing a pattern"We" may not be accurate. Alan is waiting for inspiration.  
I left off with some outlines of flowers, and a plan to come back to it with a bigger drill bit to make holes the right size for beads.
Part 1

Unfortunately, our super-awesome-drill-for-19-lira only comes with one size drill bit, and none of the other manufacturers' bits fit.  Bummer.  So Alan had the great idea to just buy some screws that were the right size and use those as drill bits. Too bad he is TERRIBLE at estimating the right size of screw.  The ones we ended up with made the same size hole as our drill bit.  I was super frustrated at this point, and put the gourd on a time-out in our spare room, with all of my other crafting materials.

Two days later when I went in there to find a t-shirt, I was in a better space. And I saw that little gourd in a whole new light.  Sitting right there next to the gourd were seed beads left over from some jewelery making. And wouldn't you know it? They fit perfectly!  Now I don't even need a new drill bit, I just need to get drilling. 
Seed Beads to the rescue!
So I did!  I drilled the heck out of that little gourd.
  Filling in the flower petals...

 Adding a ton of holes to the top (to cover up an extremely unattractive flower I thought I could free-hand drill)...

And adding some tiny flowers around the bottom. 

Then I contemplated colour. I loved the natural colour of the gourd, but there were some rather nasty blemishes, so I felt like I had to paint it.  I went with a creamy base, and gold accents.  I love it even more now.

Part 3 will involve me filling each and every hole with a bead.  I've started the process, and now know why these lights are so expensive.  Parts 1 and 2 were cake. THIS ONE IS NOT. It involves re-drilling each hole to get the paint and crud out, and then maybe finding out I drilled too much, and re-adding the paint.  Grr.  Also it involves me pushing really hard on itty-bitty glass beads. A million times.  My fingers are not pleased.

  But I have a feeling it will be worth all the pain...