Showing posts with label Jewelry. Show all posts

Saturday, August 25, 2012

Week 34: A Home for my Jewelry

 My jewelery has traveled around the world with me a few times now. And my necklaces are pissed.  They let me know how much they hate their cramped living quarters by tangling up in a nasty knot. 
Now that we're back in the U.S. for a while I figured I would craft them a nice new home.  

I knew I wanted it to be made out of some old rustic looking wood, and adorable drawer pulls.  Then I remembered that we had saved all of the signage from our wedding in Alan's parents' shed.  Score.  Free, sentimental, and up-cycled.  Can't beat that. 

I settled on the sign we made to designate our desert area...
Tatlılar means "sweets" in Turkish.

Then I scooped up a bunch of sweet drawer pulls at the Habitat for Humanity shop.  They aren't the Anthropology pulls I was dreaming of, but they were only like 50 cents each.  Much more appropriate for my current budget. 
The screws pictured are also from HfH, and were a pain in the butt to find, as nothing in the store is very organized.

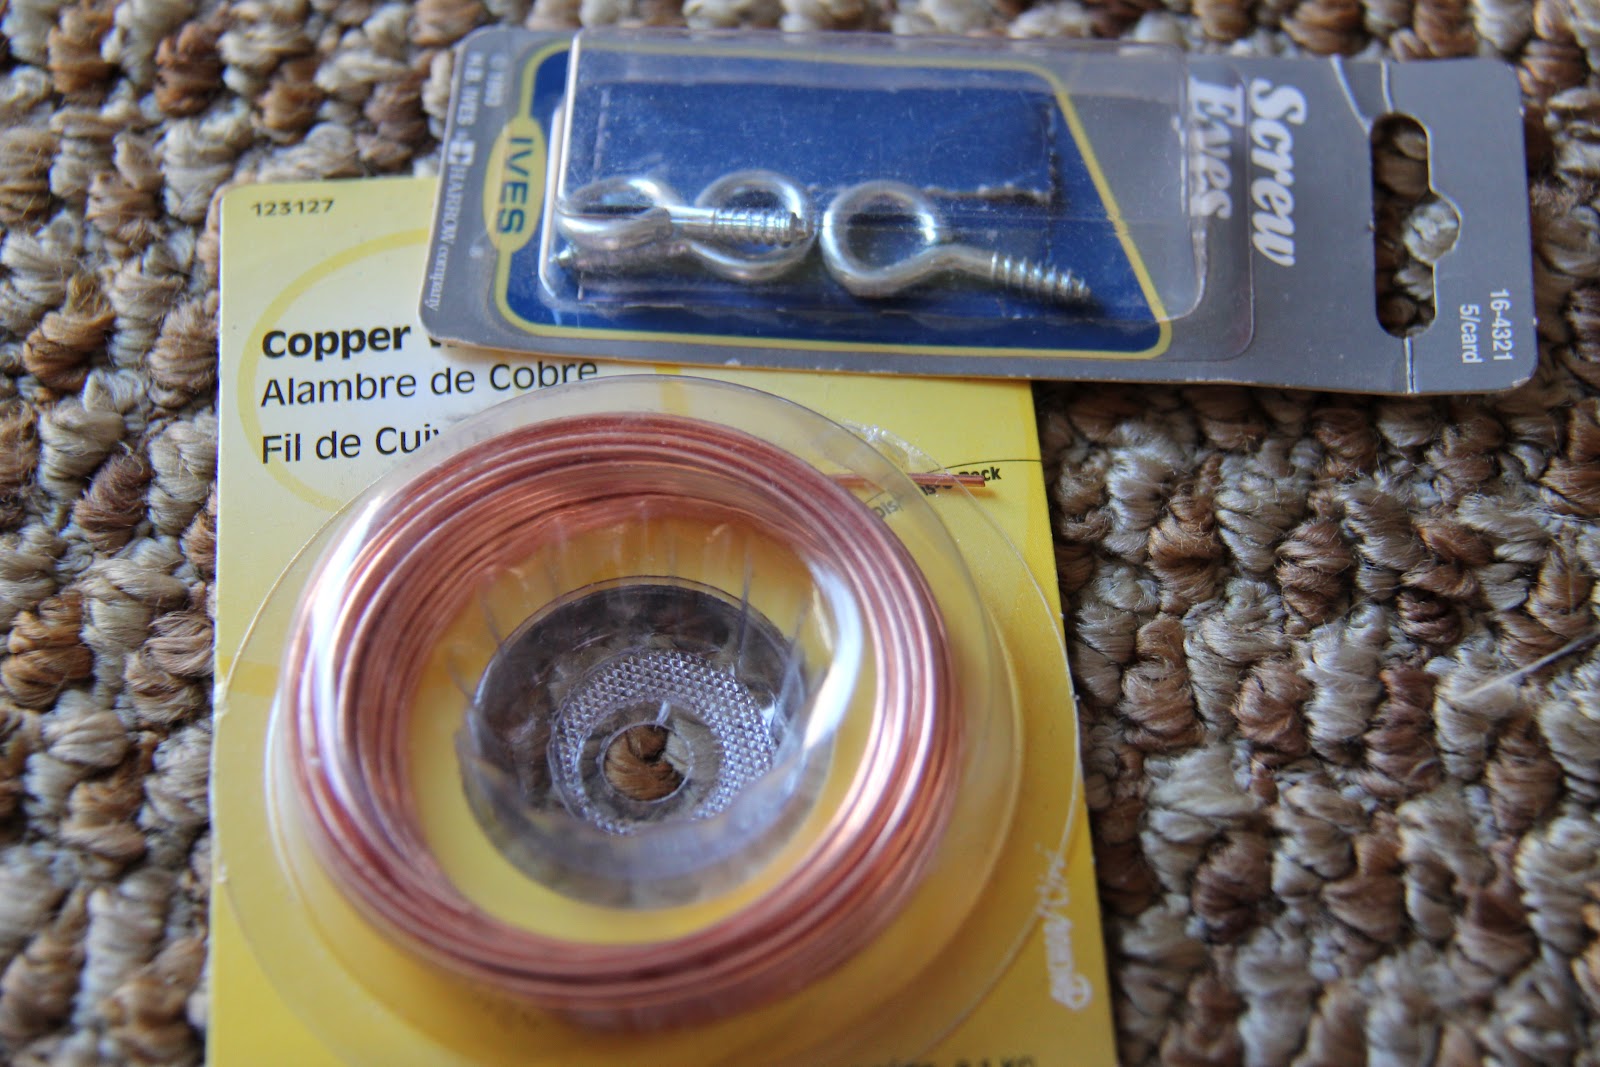
Other supplies included eye screws and wire for hanging.  Nothing matches, but that's OK because it's what I had on hand, but also the mis-match goes well with the shabby-chic feel. 
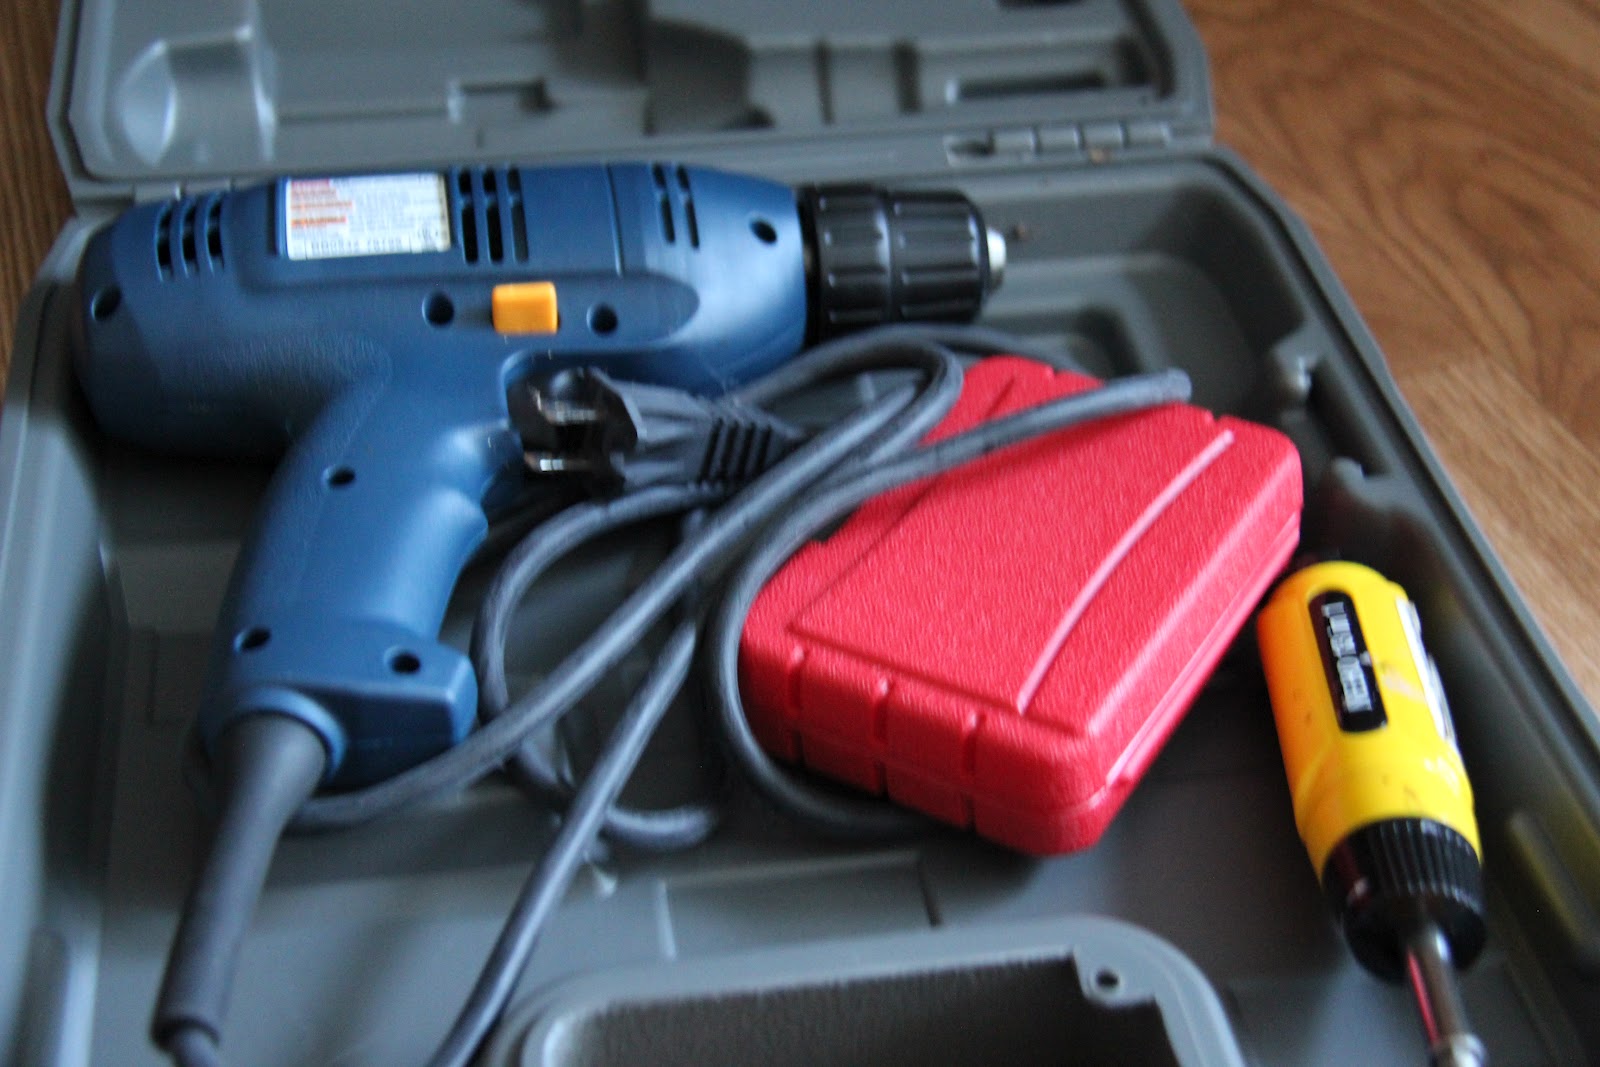
Also used: handy power drill and screw driver
Also, you'll need some sort of work bench to drill upon.  I don't have one though, so I made my own.  Out of a phone book.  BEST. IDEA. EVER.  Cause who even uses those things anymore anyway?  And once your finished, and you have a somewhat holey phone book, you could use it for some sort of fortune telling, or prank calling game.  If you're 14 and at a sleep-over. 
So.  I measured out and penciled in 8 spaces to drill, and got to work. 
Unfortunately, after I drilled all my holes, I realized that the screws I hunted for were too short to go all the way through and catch the knobs on the other side.  Drat. 

So I gave up for the day, and started to put the wood back in the plastic bag it had been living in for a year. 

Then something scary happened.   A cockroach the size of my thumb fell off of one of the two things in my hands, and landed RIGHT ON MY FOOT. So I threw both things, and locked myself inside.  For a month, until I was ready to face it again.  

This meant getting a few more supplies: Raid to kill all the cockroach babies I was sure were hiding in the wood, and sealant to keep them out in the future. This might not be the right kind of sealant, but it's what I had on hand, and I'm nothing if not cheap.

I also needed to tackle another fear before I could get started again: Aisle 14.  The screw and nail aisle of Home Depot. UGH.  That aisle ruins the whole store for me.  I can't enjoy the paint chips, or the tiles, or the garden section because I know that Aisle 14, with it's insane array of nails and screws is looming in the distance.  I just don't get it. Can't we all just agree upon the most perfect screw, and sell it in a handful of lengths.  Do we really need 900 variations?
 There is no way the average person can manage that aisle without the help of someone who works there.    My guy found me these:
 Apparently they are screws made just for knobs.  Of course the package calls them "Machine Screws." I NEVER WOULD HAVE FIGURED THAT OUT.   

The short one is one that happened to come attached to one of my knobs.  Too short.  The long one is the one we settled on.  FYI the proper length to make it through a 2x4 and into a drawer pull is 2".

 Except not for that knob on the left.  That one had hardly any screwing space, and stood WAY off the board with the long screw.  Good thing I still had the short one. 

I added two eye screws to the top edge of the wood, and attached the wire for hanging. 

Then I added 6 little guys to the front, above the knobs, as a place to hang my earrings.

Ta-da!  I still have to spend a few hours coaxing my fine-chained necklaces out of the mess they are in, but I am fairly sure they will LOVE their new home. 

Added bonus:  after all the time I spent in Home Depot, and using a power tool, I have decided to check off one of my 30 before 30 goals: Learn to woodwork.  This may not technically count, but there WAS wood involved, and 30 is sneaking up on me rather quickly, people.

Sunday, July 29, 2012

Wedding Palloza: Card Box and Bride's Maid Jewelery

The first wedding of the season kicked off today! The bride and groom are two adorably quirky kids who decided to declare not only there love for each other that day, but also their love for robots.
 
The crafty groom made these robot heads.

 
The guests signed in on colorful wood gears.

And the cake was topped with a mini robot bride and groom.
ADORABLE!

The bride asked me to decorate a box that they could store all the cards in.  She was hoping for a mini wooden chest, decorated in the theme of the day.  Luckily, I found the perfect chest in Turkey, and was able to get to work far in advance of the wedding. 

I started by sketching out some gears...

And then cutting some out to use as stencils.

Once the gears were painted on, I wrote their names and wedding dates using my most digital looking hand-writing.

And then I decorated the front of the box with pictures of the couple as robots.  Pretty accurate I'd say!
 

She also asked me to make some necklaces for all the bride's maids (8 in total).  I used fishing line and beads and pearls in her wedding colors with seed beads in between, and finished them off with some green ribbon as a tie.

Me and the gorgeous bride. And the necklace. (Beautiful earrings made by my friend Sandra.)

And the whole awesome group... (The best man was a woman, so she got a necklace too!)

We all had SO MUCH FUN at this wedding.  Maybe too much fun.  What a way to kick off the summer of weddings.  Congrats to Greg and Melinda!

Sunday, May 27, 2012

Bracelet Buddies

Our time in Turkey is coming to a close.  We'll be saying goodbye to many coworkers who have become good friends. Bummer. 

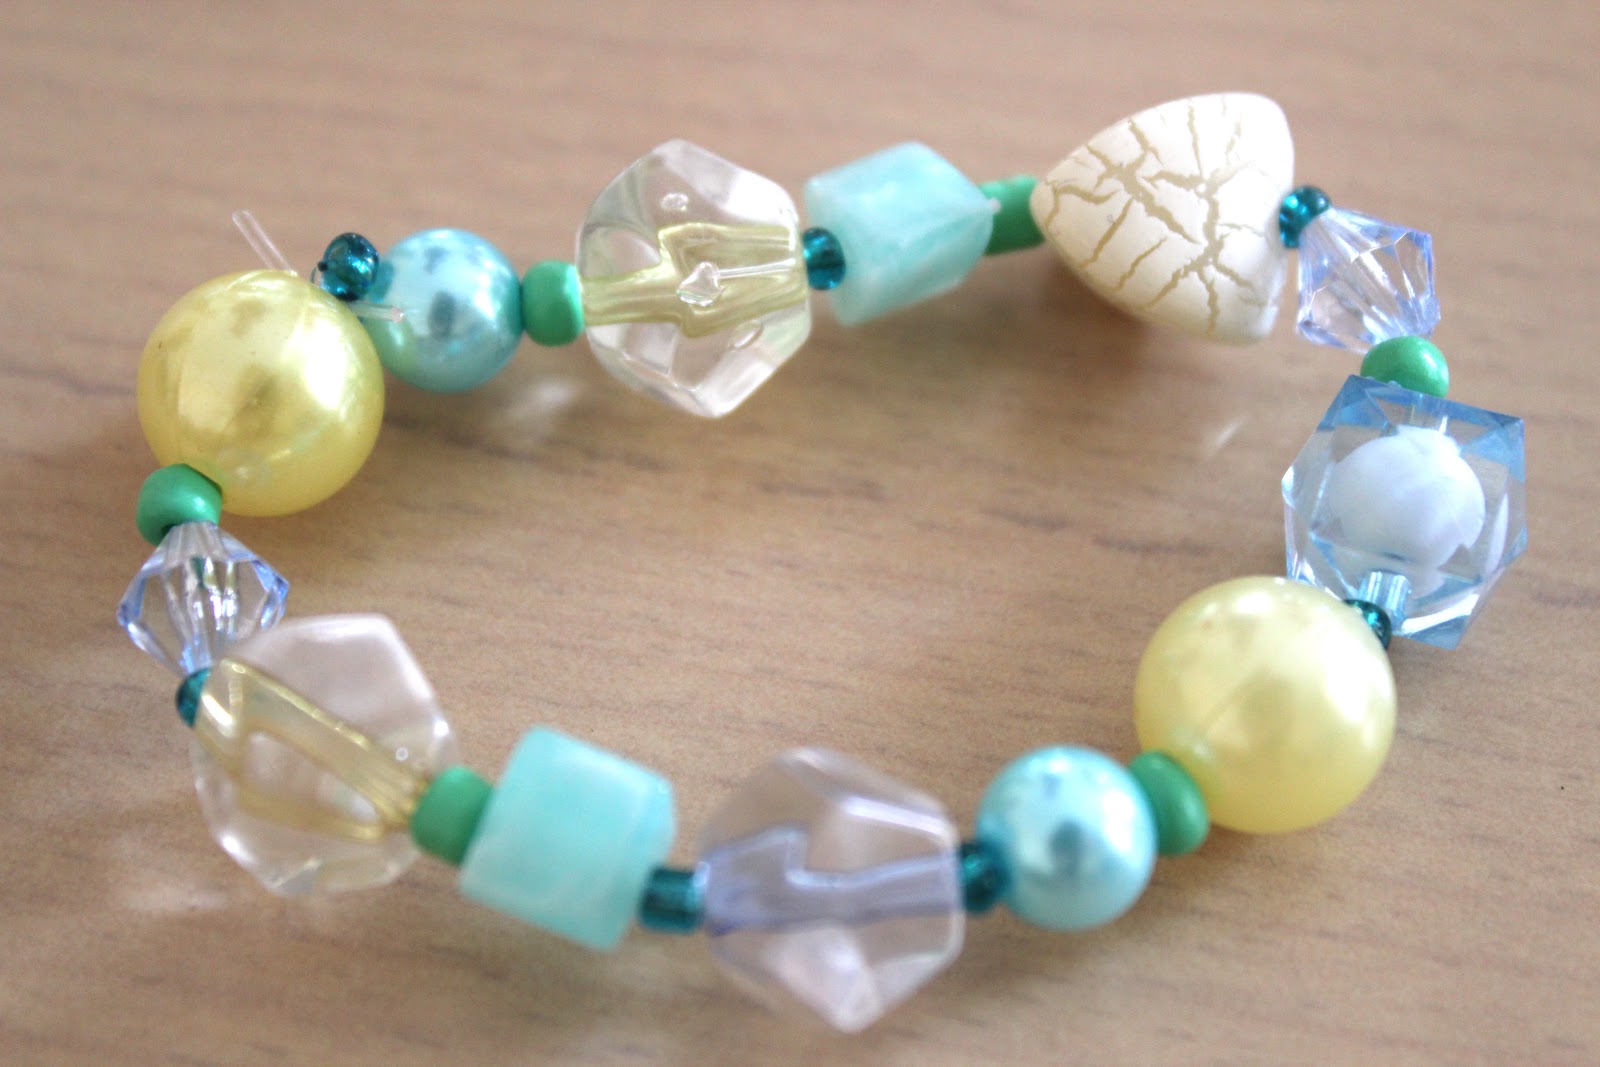
We hosted a dinner party for all of the Kindergarten teachers on Wednesday, and I made bracelets for each of them, as "Thank you and goodbye" gift.  

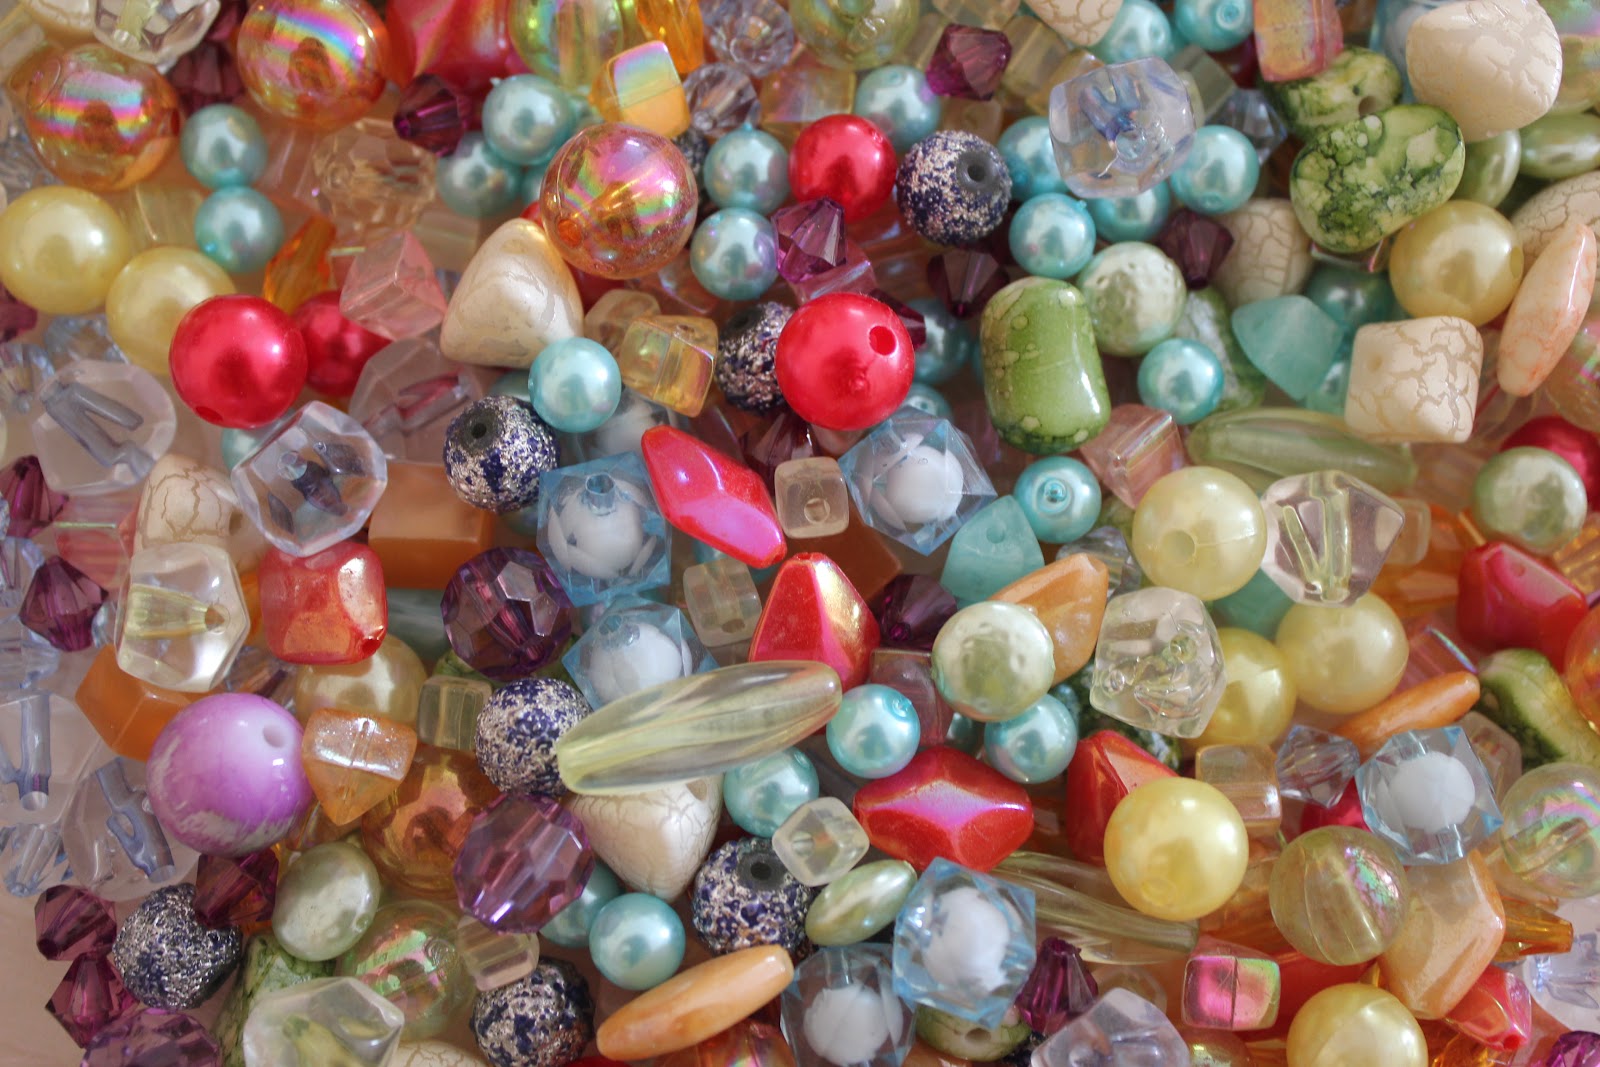
I made them out of a million different beads in every colour imaginable.
If I could fill a pool with these and dive in I would... SO LOVELY!
And I used elastic to string them. 

20 teachers...
 20 bracelets.  I love them all

But especially this Strawberry Lemonade one.

And this beachy version of Fenerbahçe team colours.

And Berry Delicious.

And Sunrise.

And "Frog Prince."

Wednesday, April 4, 2012

Celebrating Spring Colours: Rainbow Necklaces

The other day my friend Sonya walked in wearing this gorgeous piece of inspiration. 

 I immediately fell in love with the lovely rainbow colours.  
So did a fellow coworker who asked, in Turkish, "Hey! Where'd you get that? Turkey?"  Unfortunately not.  Sonya brought it with her from America.
So I told her I would make her one.  (And one for me too, because I was in love!)
 So Sonya and I headed to Boncuk Dunyası (my most frequently visited store, as of late) and reveled in beads of all colours. 
 After fondling every bead in the store, I purchased a rainbow. 
 Tiny seed beads...
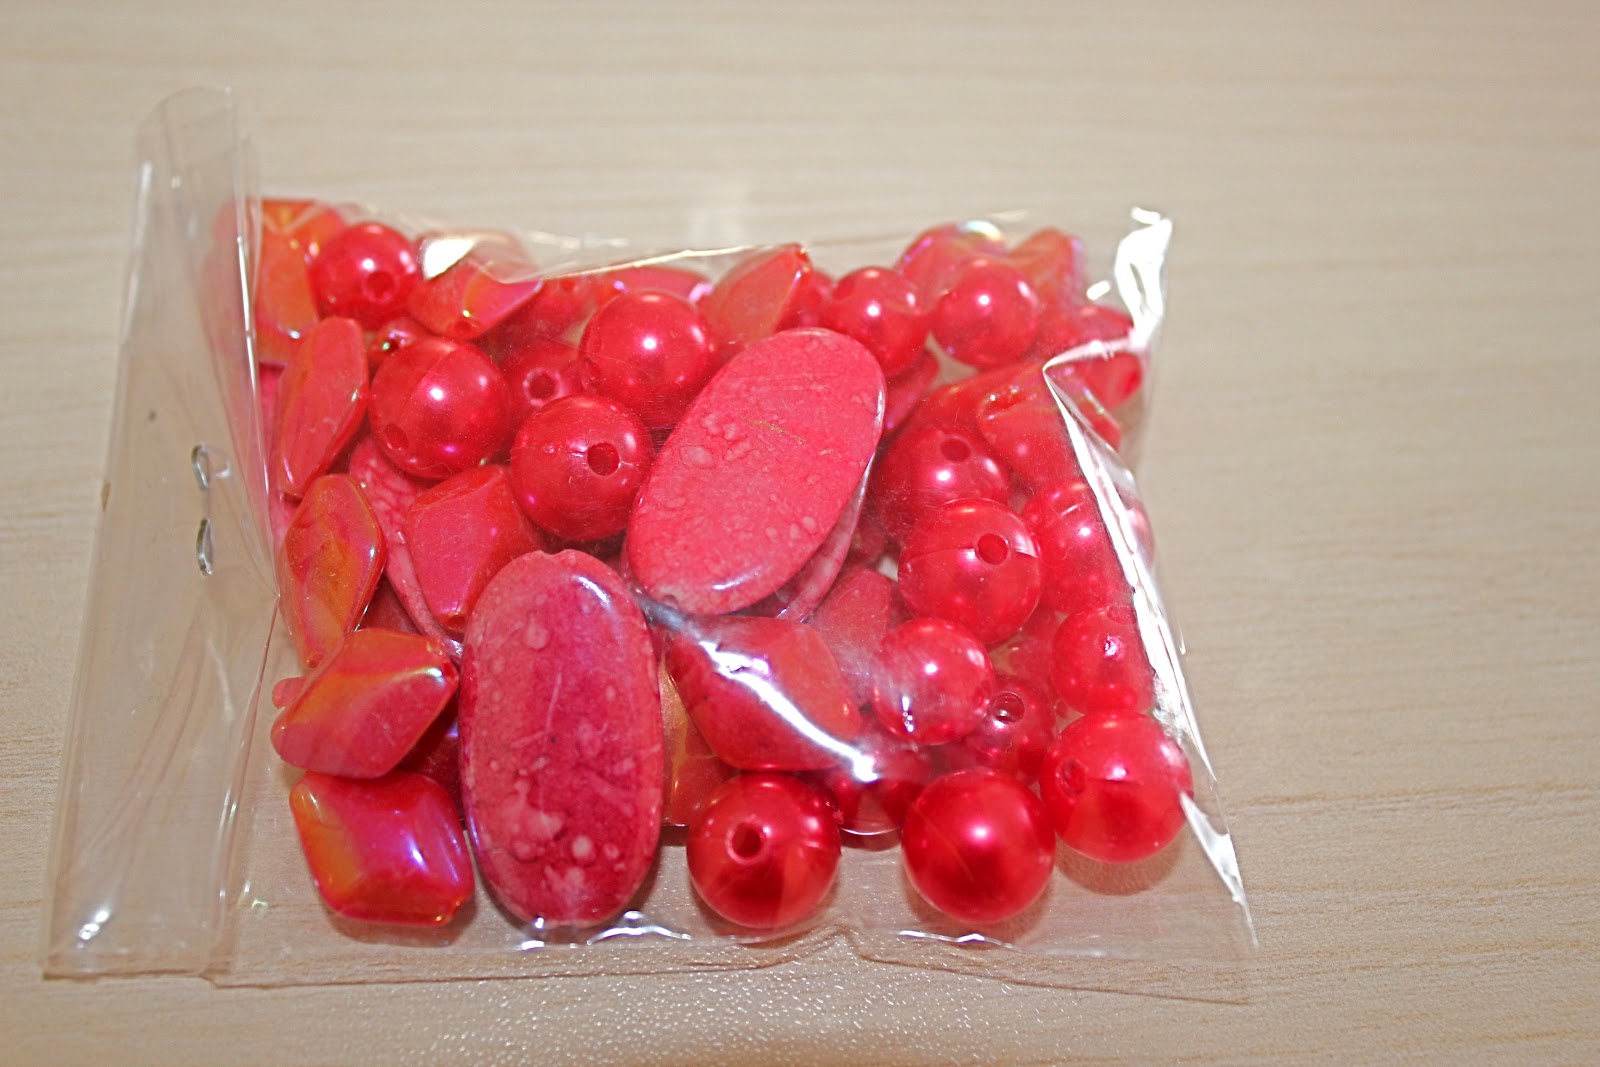
 Red: pearls, flat ovals, and diamonds...
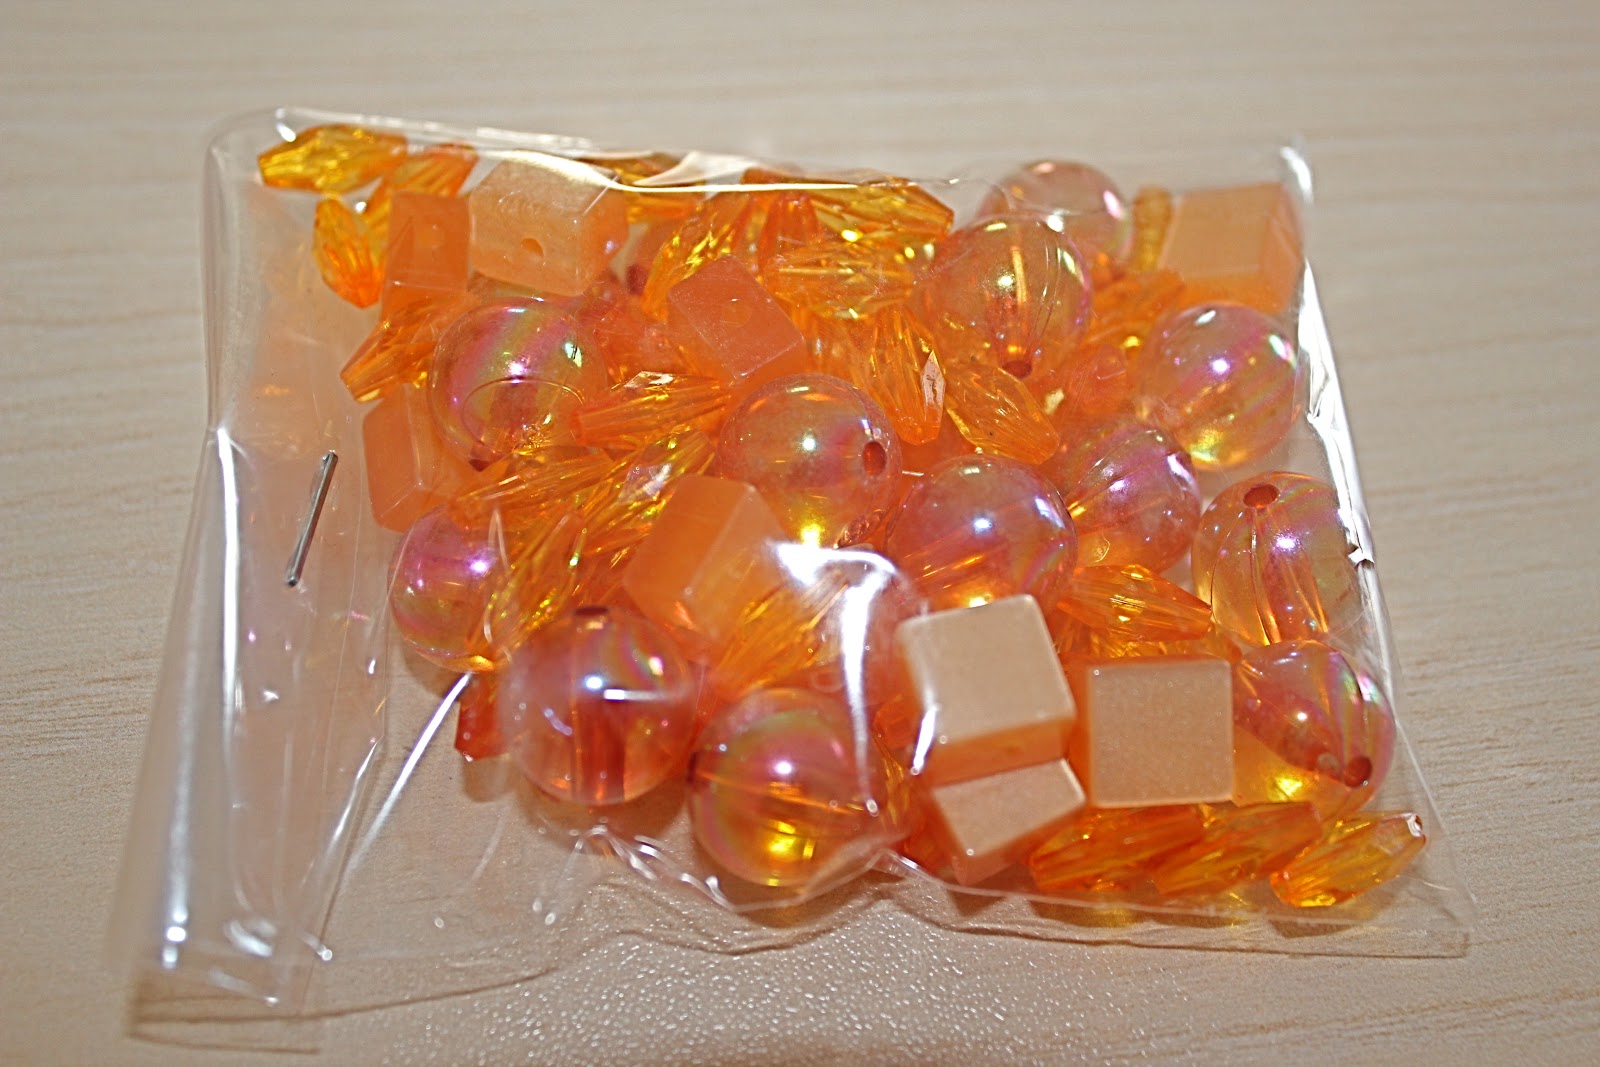
 Orange: marbles, squares, and long translucent... beads...
 Green: small cubes, stones, and BIG green versions of the orange beads...
 Little blue beads with white beads inside...
 More blue: tube shapes, and small triangles...
 Purple and Silver: pearls, egg shapes, and huge diamonds.
 I started by looping the fishing line through twice, leaving a 3 inch tail.  (Look how weird the table looks. It's super zoomed in because seed beads are small, yo. Zoomed in like that, the tail looks like its made of skin.  Ewwe.)
 Then I just stung a ton of beads on. I strung about 5 seed beads between each larger bead.  This is really just one extra long necklace that I'll wear doubled up, so I just strung until it was the length I wanted, and then tied off.
I tied like 4 knots, because fishing line is shifty.  Then I left the ends a few inches long, and strung them back through the beads to hide them.  So far so good.
 I really like how the colours look together.
Yea for a necklace I get to keep!  What a great way to celebrate spring!

Monday, March 19, 2012

Week 11: Ribbon Ruffle Necklace

I had so much fun making Nikki's necklace in Week 9, that I decided to make another birthday necklace this week. This necklace will be made for my absolutely lovely step-mom, Susan. 

I've been feeling inspired by necklaces like this one by Stella and Dot.

I like how the ribbon wraps around the beads rather than going through them. 

Also I thought this might be easier on the ribbon, and my sanity, what with not having to tug all the ribbon through those tiny holes. 

It means needing more ribbon, and fishing line... but I planned ahead and had those on hand.  Horray for planning ahead!

I had LOTS OF BEADS due to "Hundreds Day" at school a few weeks ago.  There were rumors that we would all have to come to school dressed with 100 of something on our clothing.  The kindergarten teachers all get really silly and attach 100 ping-pong balls to their t-shirts, or 100 Turkish flags... But I work in the upper grades too, where all the teachers dress like fashion models.  So I had planned on making myself this jewelry.  Fortunately for my stress level that week, the rumors were false, and I got to go to bed at a normal time that night.  Lucky Susan.  
I started by sorting out all the beads.  

I decided to use the little ones to make a bracelet. So I put those aside, along with a few of the clear ones. 

Then I laid them all out in three rows, making sure each row had a different amount of beads, and that each row length was different by at least an inch or so.  

 I measured a piece of fishing line a about five inches longer than the first row of beads.  Then I strung it through a needle, and pulled it through the center of the ribbon about three inches from the end.

 I pulled the fishing line, until the end of it was even with the end if the ribbon, then wrapped them both around each other to make a knot right where the fishing line went through the ribbon.

I strung the first of my beads onto the fishing line, using the needle. At this point the ribbon is just laying to the side.

Then I wrapped the ribbon around the needle, keeping the bead as close to the knot as possible, and strung the fishing line through the ribbon right at the top of the needle.
Then I folded the ribbon back, making an 's' and poked the needle through two more times.
 Drop your next bead onto the needle, and push all the way down, smooshing your ribbon 's' between the two beads.
 
Because the needle goes through the ribbon 3 times total, now the ribbon will be facing the opposite direction, and will wrap around the next bead on the opposite side. If you want your ribbon to be on the same side of all the beads, string your needle through the ribbon an even amount of times between each bead.

Continue wrapping the ribbon, and adding beads until the final bead of the row.  Tie a knot at the end, keeping it close to the final bead. Leave about 3 inches of ribbon and fishing line after the knots at each end of the row.

Make all three rows the same way.

Test how the rows hang together.  Tie a knot at each end, holding all three rows together.

Use another length of ribbon to go around your neck.  Test it out in front of a mirror before tying. Leave enough room to slide it over your head! Tie a knot at each end.
Cut extra ribbon and fishing line leaving about a quarter of an inch.

I tied little bows around the ends to hide them!

For the bracelet, I wanted three separate rows of different beads.  I wrapped a piece of ribbon around my wrist, and laid that length our on the table.  I placed one large pink bead on the ribbon, and then laid enough small brown beads on it to cover the length of the ribbon.


I did the same with the other two types of beads.

I used elastic for this so it could stretch over my wrist easily.

 I started with a brown bead,wrapping the elastic through twice, leaving a two inch tail.  This keeps the beads from slipping off, without needing a knot. Then I strung the rest of the brown beads.

When I was finished with the brown beads, I slipped the large pink bead on.

Next I strung all the clear beads.  After the last clear bead I strung it back through the large pink bead.  
And again, after all the small pink beads, I strung the elastic through the large pink bead. Then I tied the end to the very beginning of the beading project (at the other end of the brown beads).  I tied three tight knots (for good measure), and cut the ends close to the knot.

Sorry about not having any pictures of the bracelet process.  

Happy Birthday Susan!  Thank you for inspiring my love of crochet, and for being such a loving and supportive second mother for all of these years.  Love you!!!