Saturday, August 25, 2012

Week 34: A Home for my Jewelry

 My jewelery has traveled around the world with me a few times now. And my necklaces are pissed.  They let me know how much they hate their cramped living quarters by tangling up in a nasty knot. 
Now that we're back in the U.S. for a while I figured I would craft them a nice new home.  

I knew I wanted it to be made out of some old rustic looking wood, and adorable drawer pulls.  Then I remembered that we had saved all of the signage from our wedding in Alan's parents' shed.  Score.  Free, sentimental, and up-cycled.  Can't beat that. 

I settled on the sign we made to designate our desert area...
Tatlılar means "sweets" in Turkish.

Then I scooped up a bunch of sweet drawer pulls at the Habitat for Humanity shop.  They aren't the Anthropology pulls I was dreaming of, but they were only like 50 cents each.  Much more appropriate for my current budget. 
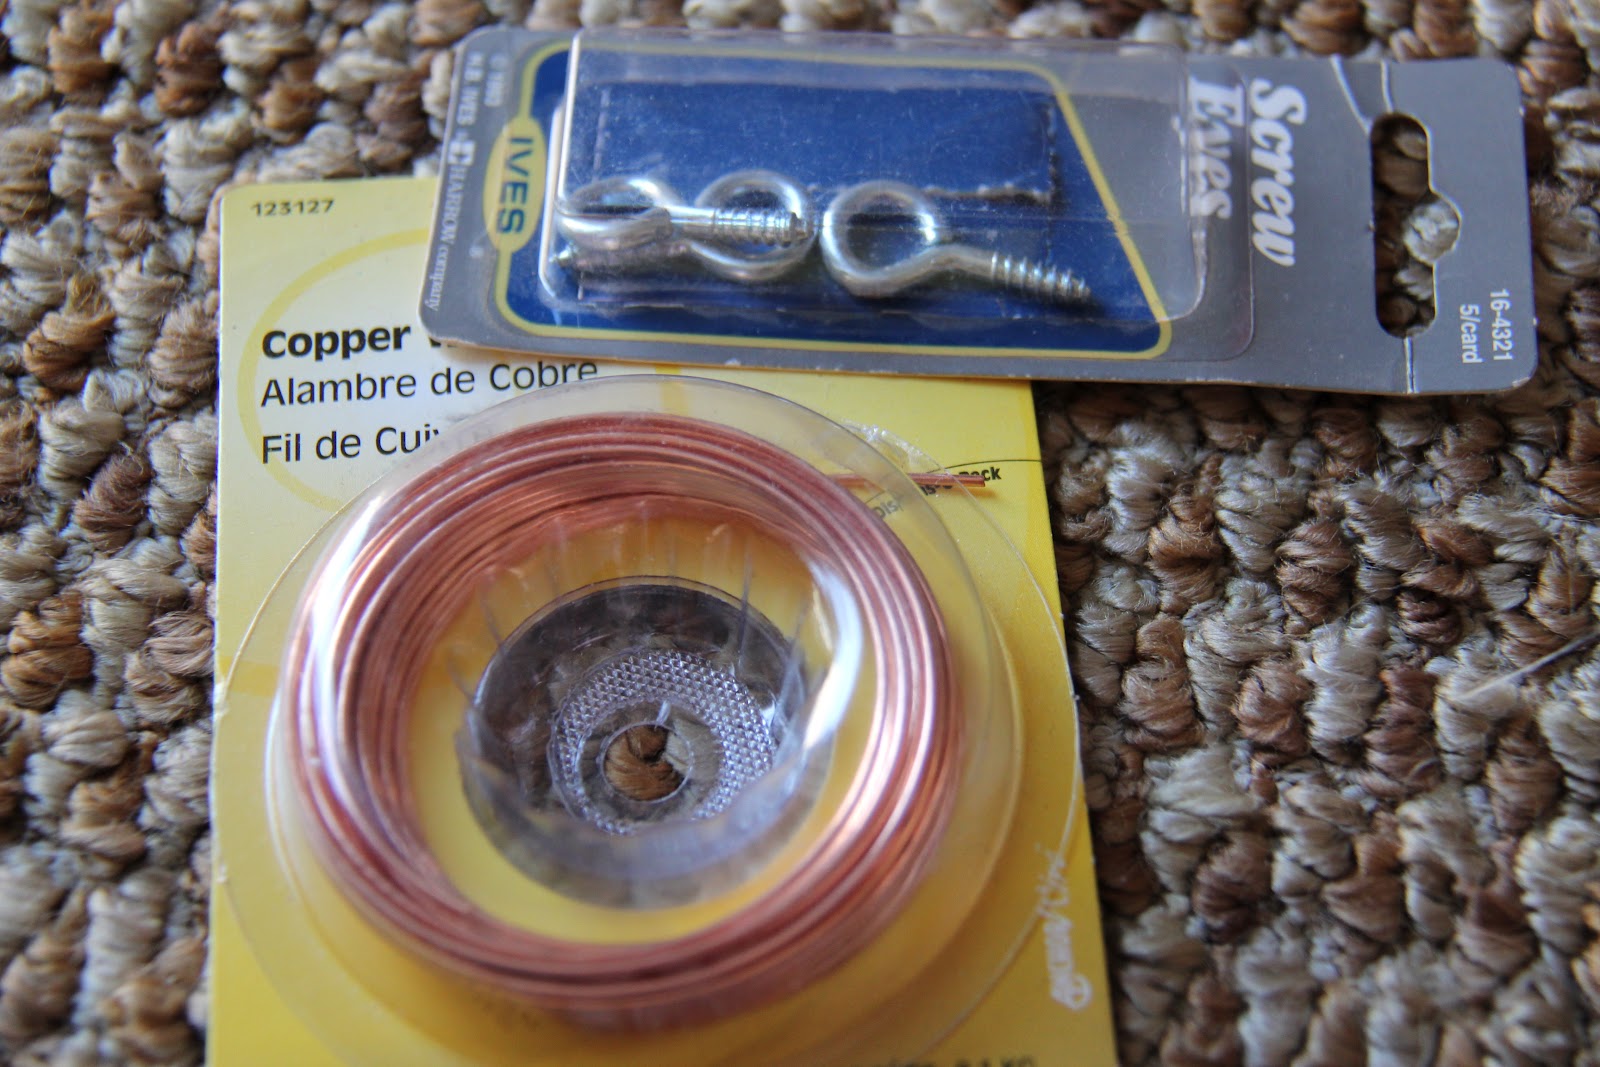
The screws pictured are also from HfH, and were a pain in the butt to find, as nothing in the store is very organized.

Other supplies included eye screws and wire for hanging.  Nothing matches, but that's OK because it's what I had on hand, but also the mis-match goes well with the shabby-chic feel. 

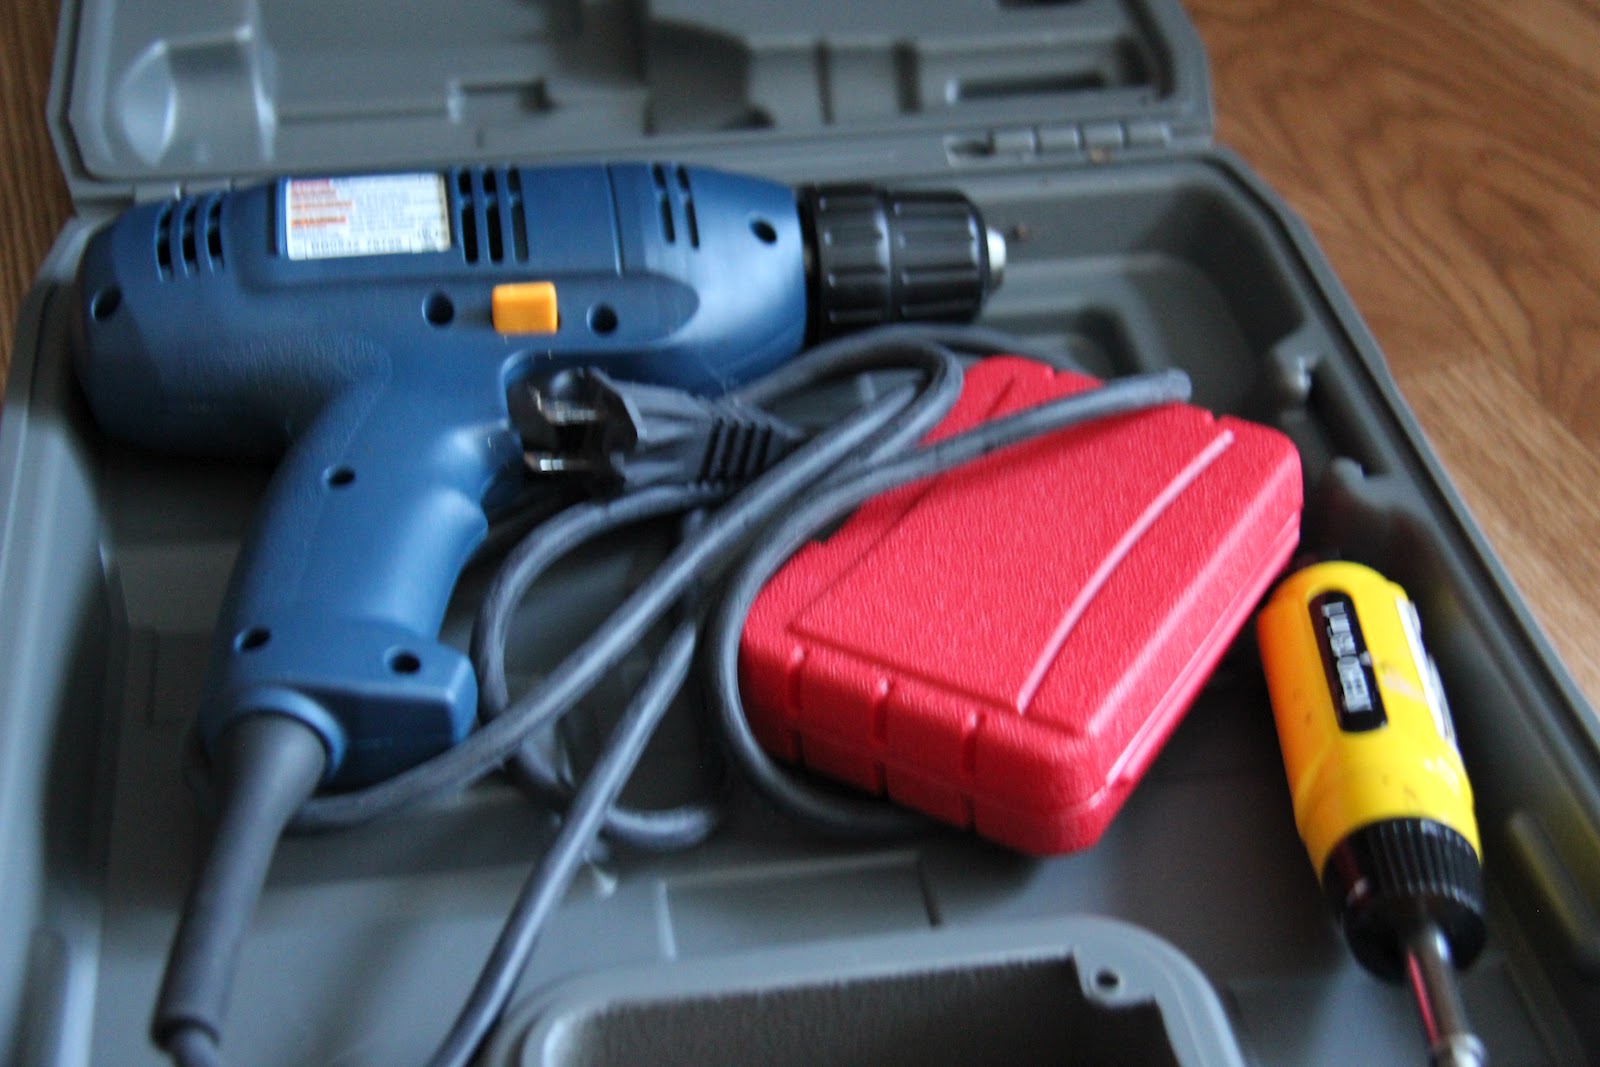
Also used: handy power drill and screw driver

Also, you'll need some sort of work bench to drill upon.  I don't have one though, so I made my own.  Out of a phone book.  BEST. IDEA. EVER.  Cause who even uses those things anymore anyway?  And once your finished, and you have a somewhat holey phone book, you could use it for some sort of fortune telling, or prank calling game.  If you're 14 and at a sleep-over. 
So.  I measured out and penciled in 8 spaces to drill, and got to work. 
Unfortunately, after I drilled all my holes, I realized that the screws I hunted for were too short to go all the way through and catch the knobs on the other side.  Drat. 

So I gave up for the day, and started to put the wood back in the plastic bag it had been living in for a year. 

Then something scary happened.   A cockroach the size of my thumb fell off of one of the two things in my hands, and landed RIGHT ON MY FOOT. So I threw both things, and locked myself inside.  For a month, until I was ready to face it again.  

This meant getting a few more supplies: Raid to kill all the cockroach babies I was sure were hiding in the wood, and sealant to keep them out in the future. This might not be the right kind of sealant, but it's what I had on hand, and I'm nothing if not cheap.

I also needed to tackle another fear before I could get started again: Aisle 14.  The screw and nail aisle of Home Depot. UGH.  That aisle ruins the whole store for me.  I can't enjoy the paint chips, or the tiles, or the garden section because I know that Aisle 14, with it's insane array of nails and screws is looming in the distance.  I just don't get it. Can't we all just agree upon the most perfect screw, and sell it in a handful of lengths.  Do we really need 900 variations?
 There is no way the average person can manage that aisle without the help of someone who works there.    My guy found me these:
 Apparently they are screws made just for knobs.  Of course the package calls them "Machine Screws." I NEVER WOULD HAVE FIGURED THAT OUT.   

The short one is one that happened to come attached to one of my knobs.  Too short.  The long one is the one we settled on.  FYI the proper length to make it through a 2x4 and into a drawer pull is 2".

 Except not for that knob on the left.  That one had hardly any screwing space, and stood WAY off the board with the long screw.  Good thing I still had the short one. 

I added two eye screws to the top edge of the wood, and attached the wire for hanging. 

Then I added 6 little guys to the front, above the knobs, as a place to hang my earrings.

Ta-da!  I still have to spend a few hours coaxing my fine-chained necklaces out of the mess they are in, but I am fairly sure they will LOVE their new home. 

Added bonus:  after all the time I spent in Home Depot, and using a power tool, I have decided to check off one of my 30 before 30 goals: Learn to woodwork.  This may not technically count, but there WAS wood involved, and 30 is sneaking up on me rather quickly, people.

Wednesday, August 22, 2012

Week 33: Embroidered Totes

 More wedding crafting!!!  My best friend since kindergarten, Tawnee, is getting married in September. She asked me to help make welcome bags that would double as favors for the guests.  Mainly my job was to fill the bags with things that the guests might need during the ceremony and reception: water bottles, gum, tissues, sunscreen...  Also though she wanted to use canvas totes that the guests could keep and use forever as a token from the wedding.  She suggested that I paint or stamp them all with their initials.  That would have been adorable, and easy.

I suggested that I embroider patches for them.  Even more adorable.  But NOT easy.  Idiot.  

But now they're finished, and I love them.

I embroidered all of the patches onto a large piece of teal fabric and cut them out once I was finished. DON'T cut the patches out first.  They wont fit in your hoop if you do. 

 Supplies:  Fabric.  I used a little less than a yard, but I made 52 bags... so you probably don't need that much. 
Embroidery floss, hoop, and needle
 Spray-on adhesive (or pins)

Hand embroidering the same thing 50 times is tedious, so I used a lot of different stitches...
Running stitch for ease and speed...

Split stitch for a cleaner look...

Back stitch because it's just so cute...

Chain stitch because I think it's lovely...

And the Ladder stitch. Kind of. Let's say I made this one up.     

After embroidering the initials, I cut them all out, adhered them to the totes with the spray, and machine sewed them on with a zig-zag stitch.  They would probably look so much more adorable hand stitched on, but after 52 of these, I wasn't going there. 

We ordered all the totes from CheapTotes for 88 cents a piece. 

Stitch links come from the Stitch Embroidery Guide, though most of my stitches are somewhat made up, and look super sloppy compared to the actual stitches.

More to come as I fill the bags with goodies...

Monday, August 20, 2012

Week 32: Subtle Transportation

Another friend joins the mommy club this September.  Yeah for April and Reiner!  When I asked about a color scheme for baby Jaxson, she said that they weren't doing a color scheme as much as they were doing a subtle transportation theme. 

To go with the theme, I made a set of subtle transportation onsies. 
Can you tell what they are yet?

 I scooped up a 5-pack of onsies at Joann for $10.99 (score!), and the rest of the supplies were already in my possession...
Spray adhesive
Embroidery hoop, floss, and needle
fabric scraps

I free hand draw some pretty adorable animals, but for some reason, I have no ability to draw vehicles.  So I spent some time on google images looking up line drawings of boats, planes, trains...

This one was easy enough to just look at and free cut some shapes.  A running stitch holds them all on, and makes the waves. 

 The hot air balloon was slightly more challenging. I sewed all the pieces together using a sewing machine, and I'll tell you, sewing on those curvy lines isn't something I'll do again. 

But I absolutely ADORE how quilt-y it turned out.  (This one is my fave.)

The words on each of these was done using rubber stamps, and a textile medium mixed with an acrylic paint. Don't dip the stamps, but use a brush to apply the paint, so it doesn't get too gloppy. 
Once the paint is completely dry set it with a hot iron.

I also spread the paint onto the tire tread of a toy car.  Vroom. Vroom. 

I added some tiny matching cars onto the tire tracks.

Lastly, to my mom and Alan's delight, I made a mo-ped.  

I did this using freezer paper (you could buy it at the grocery store, or you could just go to the butcher and see if he'd give you some for free. Mine did!).
 I traced the outline of the scooter onto the paper, and then cut it out.  Then I used a hot iron to adhere the outside frame of the mo-ped to the fabric, and then painted in the center.  The freezer paper creates a tight seal so that the paint doesn't spread. I let it dry completely, and then pulled the paper off. 

I outlined the scooter with a back stitch.  

Congratulations April!  Can't wait to hold your little guy!

Thursday, August 16, 2012

Week 31: My Husband: the Crafting Superhero

This summer, it seems like all of my friends are getting married. I'm trying to be as helpful as I can, and some friends jump on signing me up to make tons of stuff, while others really don't need any help. When one of my dearest friends, Molika, called 4 days before the wedding with only her second request for help, I agreed before I even knew what she wanted.

Then I asked what she needed help with.  And was very confused.  All I kept hearing was something about "Corn-hole." Really, I  must have a bad connection. There is no way she was asking for "Corn-hole help."  Being from California, I had only ever heard that word used as a foul reference to one's butt.  Eww.

As it turns out, Corn-hole is a real thing in the Mid-West.  A game that involves throwing bean
 bags, (or corn bags) into a hole in a wooden platform. 

Oh. Ok.  You want me to make some bean bags? No problem.  I'm all over it.  I don't even have to go to the fabric store. 

But then there was a problem.  A BIG one:  that night, while attending a friends birthday party, and playing a spontaneous game of hide-and-seek, I laughed so hard I managed to throw my back out.  

I'm getting old people. I spent all night and the rest of the next day writhing in pain. Insanely frequent spasms made talking, moving, laying, and breathing almost impossible.  At 5am I managed to get out of bed to go to the bathroom, and ended up in a sobbing puddle on the floor.  Certain death was just around the corner. 

The next morning, when my AMAZING husband asked me what kind of fabric I thought I might use to make those bean bags, I told him that I didn't think I would be able to make them that day, maybe tomorrow.  

At that point he threw his glasses to the side, and like a speeding bullet his PJs turned into a Lycra jumpsuit, with a big H on the front, with a cape floating behind him.  (I don't know where that guy got a wind machine, but it really had a nice effect.)

"Of course you can't make them, my dear! I will make them! All while bringing you water and food, changing the DVD, and helping you stand when you need to pee. Super Husband!"
So he did, and he made them even more adorable than I would have.  
He used 8 fabrics in 4 color schemes for the fronts (and patch-worked them because he is THAT good).

For the back he used double layers of burlap, because Molika had no color pallet to match, but had used quite a bit of burlap in her decoration. Then he sewed on two color patches so that even if the bags landed upside down the people playing would still know whose was whose.

After filling with beans, he closed them all up with a running stitch. 
Best husband EVER.


As it turns out, Molika and her husband are super crafty.  The kind of crafty where they do amazing things with wood.  Like build a whole wall out of old doors, and an archway out of an old garage door.  They made cocktail tables and even an outdoor sink out of wine barrels and huge spools.  And they even built the Corn-hole platforms.

Which they painted with their silhouettes!  So cute!

Diana and her dad loved the game.  Action shot!

Niece/flower girl, Liv, didn't know the rules apparently.

She still had fun though.

See the doors and part of the archway?  Beautiful.  And those doors extended all the way across the yard.

They really turned their backyard into a magical place...

Not to mention how stunning they looked.

Congratulations Molika and Brandon!  I'm so happy for you!

Friday, August 3, 2012

Week 28: Happy Anniversary

July 30th was our one year anniversary.  Woohoo!  We have had 365 days of laughter, love, adventure, and tickle fights.  Definitely the best year of my life so far.  I love everything about the man I chose to spend my life with, and I'm so thrilled about what the future has in store for us. 


With wedding season in full swing (5 friends getting married this summer), we decided to get away for just one day.  So we packed up and headed to Placerville, because neither of us had been there, and because it was so close to the wedding we were at the night before. We stayed in the historic Cary Hotel, and explored the little town and Apple Hill.  It was perfect.  


For gifts, we decided to go with the traditional first-year-gift of paper. Also, we made the rule that it had to be homemade (my favorite rule). 


I used one of my favorite pictures form our wedding ("The First Look," above), traced our silhouettes onto some card-stock, and used an Xacto knife to cut us out of it.


Then I taped our silhouettes onto the inside of the glass on an extra deep frame.  Then I turned the frame into a shadow box, by cutting out a piece of cardboard that was too big to fit inside the frame.  I glued a list of all of the adventures we've had in the past year to the front of the cardboard, and then super-glued the cardboard to the back of the frame.  Then I super-glued a soda can top to the back to use as a nail holder (thank you Pinterest).

I love the idea of this gift.  I love the picture of us. I love the record of our first year in adventures.  And I love that I already had all the materials at home, so it was free!  

I don't love that the tiny bit of tape I used on the silhouette, failed after I super-glued the back on.  GRRR... Fortunately it was still looking good when I gave it to Alan.  Also, we don't have a wall to hang it on yet, so when we find a permanent place to live, I'll fix it, and then hang it. 


Alan re-used a sign from our wedding (love that guy). He added some eye-hooks, and some wire...

And hung two frames from the bottom that hold our vows in them (there's the paper). 
Exchanging vows was one of my favorite wedding day memories, so it will be so lovely to have them displayed on our wall as a daily reminder of all the promises we made.

As if that wasn't enough, he had another surprise waiting for me at the hotel...
He secretly sent this picture of our wedding cake toppers (mini Turkish gourd people) to a local cake maker, and she did an amazing job of recreating them!  Her gourds aren't gourds at all, they're perfectly painted marzipan! Stunning!

Cake re-make!


Alan, thanks for making this year so special!  You're my favorite.