Monday, October 22, 2012

Wall Week: Frame Fabulous

So, I've been looking all over for some HUGE and inexpensive frames to decorate the wall behind our bed. I was having so much trouble finding any for good prices... garage sales, swap meets, and the Goodwill were all over charging.

Just as I was about to give up, my darling friend invited me over to "swap meet" through her left over wedding decor, AND LOOK WHAT SHE HAD!  All. For. Free.  Gotta love her.


Most were in need of a good cleaning, and some desperately needed updating.  Nothing some paint can't fix.


Luckily, I happen to have all the colors in my gorgeous quilt as paints.  Apparently I love these colors.


So I freshened them up with some coats of paint that would go with the quilt,

and the lamps. 
And then I hung them on the wall in a somewhat random pattern.

LOVING how they turned out.  Also, bonus: we had an earthquake the other night and none of the frames shook off the wall and crushed our heads!  In fact, without glass and backings the frames are light enough to probably only bruise, rather than smash, our heads if they fell.  Though, that would probably be super scary.
Wall 2: Decorated for free, Yo!

Sunday, October 21, 2012

Week 39: Wall Week: Mini Wall

Welcome to "Wall Week," where I catch you up on what I've done to transform our walls from boring things that hold up our ceiling to something fun to look at.  Keep in mind that we're renting, and don't want to do anything more drastic than hanging a few things with nails.  Definitely no painting. 

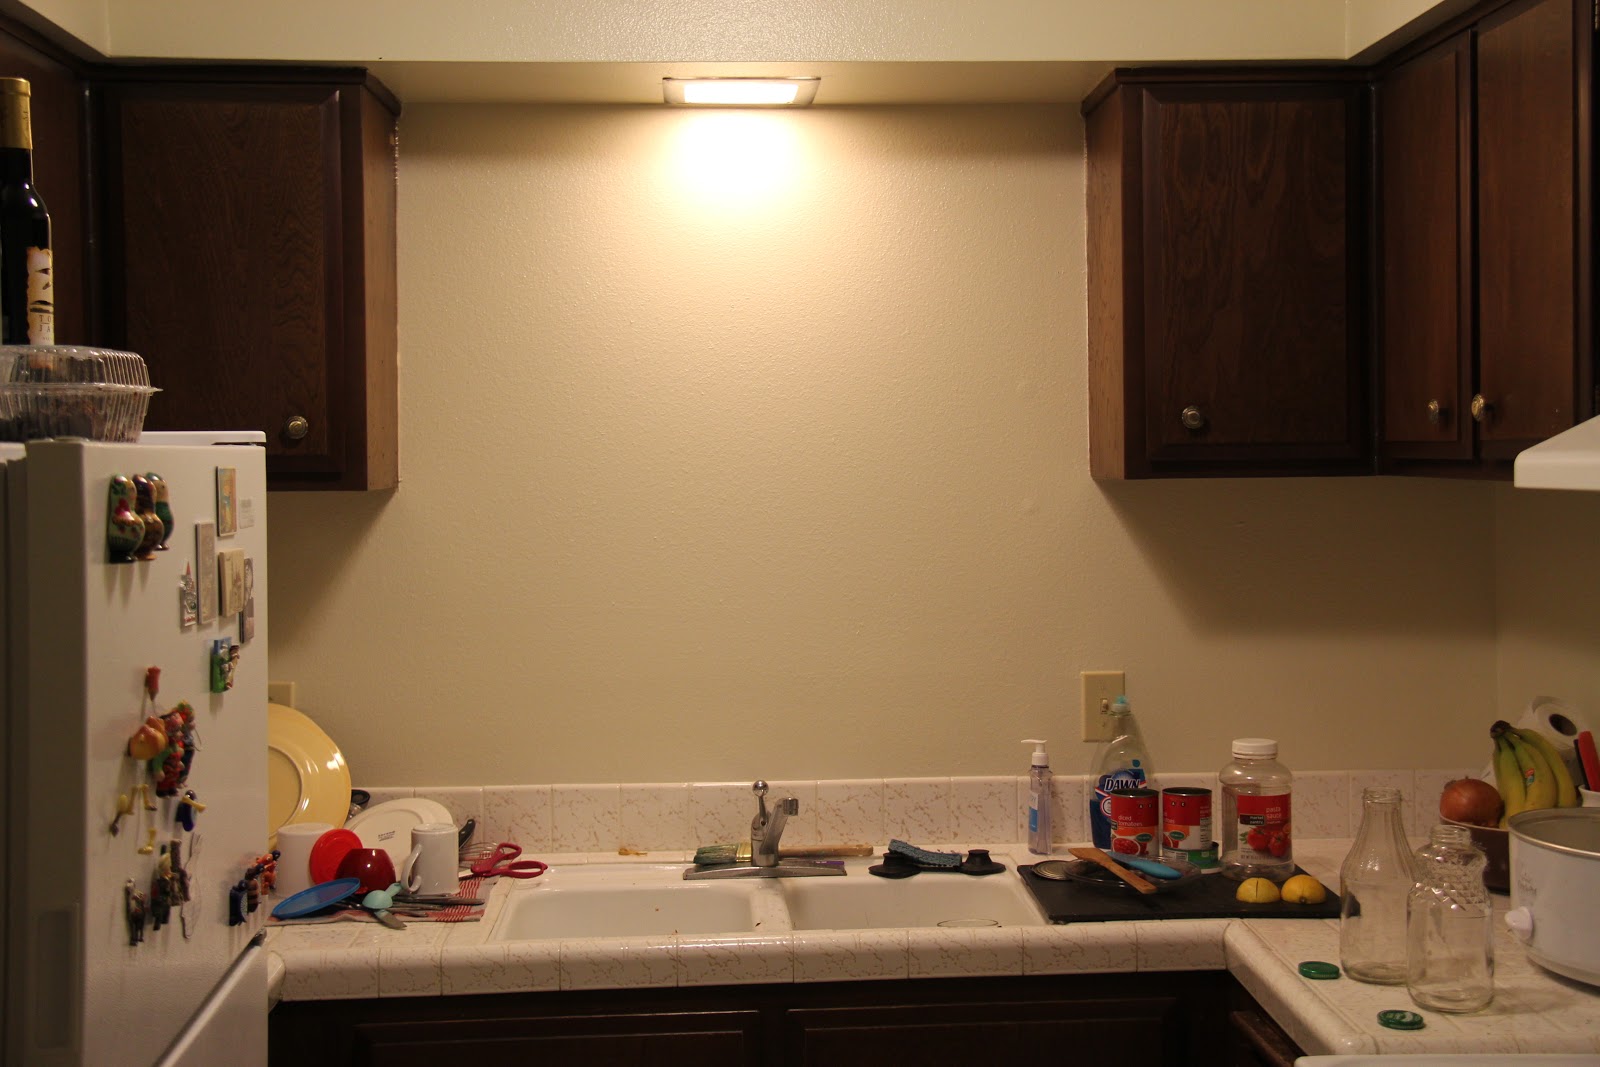
Today you get to meet "Mini Wall." Mini hangs out in our kitchen between two cupboards.  We've grown close during my hours of dish washing, but to be honest, she's kind of a dud.  No real personality, or character.  But she's got potential.  And when I asked if she'd be interested in a makeover, she was open to it. 

So I took some left-over twine, a stack of paint chips we're thinking about for our dresser, and two nails...

I wrote s few words in permanent marker...

And I gave Mini a new fresh look.  

Now whenever I get grumpy about all the dishes, Mini reminds me of what the dishes represent, and all I have to be thankful for. Thanks Mini, you're such an optimist!


Saturday, October 13, 2012

Dining Room Table. Now With Hella Character

In our quest to thrift an affordable apartment, we've picked up a bunch of free items. Free pallet+free fencing=free table, right?  Actually no.  This project was kind of a comedy of errors. When it came to all the money we spent on supplies for this baby, we could have bought something new. And not spent multiple weekends building it. 

But when it came time to calculate all of the things we were buying, and I turned to my husband with a defeated sigh, and offered to give up, he rallied.  He sweetly reminded me that this table (and life) wasn't ALL about saving money.  I had goals and ambitions that building a table would meet.  I had dreams of learning how to woodwork.  I had fantasies of a beautiful recycled fence table. If we had to spend a little more money for me to have this experience, he felt it was worth it.  Even if he kind of hated the idea of eating dinner on the gross old wood in the trunk.  Love that guy.
So I bought a blade for the blade-less saw our friend had.  Also we bought a face mask, and I donned some goggles.  Because "safety first" my friends. 

Also, when using a saw, safety suggests that one should focus on one's work, rather than the camera.  So this is my safe action shot.
I started by cutting the fence boards into manageable pieces.  The I started doing the math.  I wanted the finished table top to measure 30"x42" which would give a small overlap on all sides of the pallet. With 6" wide boards I needed 5 rows.  I cut the best parts of the boards down to 21", and then I cut those pieces somewhat randomly so my mosaic would look more lovely. I also cut one AMAZING slat 42" and then left it as is.  Alan pointed out that the holes that I felt gave it its beauty were also the places that would drive everyone setting a glass down crazy, but with it placed in the middle, I think we'll only be setting serving dishes there.
Then I laid it next to the pallet we had spray painted for this project, and all of a sudden I HATED the turquoise. I even hated it when I sanded it down a bit.  So we stopped our project there and went to pick up some navy.

Much better. 

I laid out all the fence pieces in a way that I loved, and then I flipped the whole thing over, and laid the pallet on top.  Notice that the way I cut my fencing, the pallet slats lay perpendicular to the fence slats, rather than parallel. I have a feeling attaching would have been much more challenging the other way around.

I checked all four sides to make sure that they all had an even amount of overlap...

Then I screwed it in with a million screws. I may have gone a tad overboard, but the table top is secure, which was the goal. 

I got hot and cranky right before the last slat, and Helpful Husband jumped in.  Thank goodness. 

Because this may or may not be lead-based paint (don't judge me) it was super important for me to cover it with a sealant.  First though, I would have to remove all dirt, grime, and spiderwebs...

I used an entire can of sealant, which allowed 5 solid coats.  While those were drying I sanded and painted the 2x2s we picked up for temporary legs. (I really want some super industrial looking legs like metal hair-pin legs, but those guys are EXPENSIVE, and we aren't sure how much we're going to love this table yet).

We drilled the legs in using some L-shaped brackets. And our project was complete!

I am so happy with how it turned out.  We've only had one thing tip over because of less-than-careful placement, Woo-Hoo!  If we end up LOVING this table too much to get rid of it, we'll probably get some glass cut to cover it,  but for now I have a fun place-mat craft planned. 

Total Cost and Time Spent:
  
Lots of time... 10 hours over 2 days?
Pallet: free
Ceder fencing: Free
Safety mask: $4.97
Saw blade:$19.00
Screws: $6.47
Sand paper: $9.97
Teal Spray paint: $3.87
Navy Spray paint (2): $8.98
Sealant:$3.87
Table legs: $5.48
White paint: Free (left over from chairs)
Brackets: $7.98

Total: $80.50

In the end, it's unlikely we'll ever make our money back on this table, but it was fun to build and it has "Hella character."  Thanks for saying so Bryan!

Friday, October 12, 2012

Dining Room Seating


During our last weekend garage sale-ing adventure, we stumbled upon dining-room furniture that was just too good to pass up. While we had plans to make "free benches," out of an old pallet, the cost of the legs, hardware, and stress would have actually been way greater than what we paid for these three gems. 

This lovely little piano bench was only $8.  We were in love with the fun vintage fabric, which wouldn't actually match our dining room set.  But we knew we could use the fabric elsewhere when we removed it from this piece.

And these seat-less chairs were only a buck each!

Granted, they were gross.

And missing some very crucial pieces, but that didn't scare us away.

We soaped them down, and sanded all the rough spots, and then added a few coats of paint.

Already looking better.
Now for upholstering... Alan brought the chairs and the bench into the hardware store with him and got some pieces of plywood cut to the exact measurements.  Each chair needed one for the seat, but he also got one for the bench which already had a seat.  We painted this piece white, and used it to turn the bench into a storage space. More on that later.  While he was at the store, he also got a dowel to fit between the legs of the bench to help it's wobble factor.

While the paint dried, we stapled 8 layers of quilter's batting to the seats.

Looking oh-so-comfortable, wouldn't you say?

And then we stretched and stapled some gray suede-ish fabric on top.

I know this is a crazy angle, but to get the seats to fit snugly onto the chairs I literally had to sit on them while Alan laid underneath and drilled from the bottom.

Don't the chairs look SO MUCH CLASSIER?

For the bench, Alan drilled the painted plywood into the underside, flipped it over, and attached the seat with some small hinges, to allow us to flip it open.  

Then he had a stroke of genius.  If we were going to be flipping the bench open all the time, the backside of that seat should be adorable too.

So he added some amazing, bright, vintage sheet fabric we scored a few weeks back. To avoid visible staples, he used an iron-on fusible to attach it.


PERFECT!


Total Cost and Time Invested:
 3 or 4 hours
 Furniture: $10
Sand paper: Free (already owned) 
Screws: Free (already owned)
Plywood +Cuts: $8.19
Paint: $14.99
Dowel: $4.59
Batting (garage sale): $0.50
Gray Fabric (cut from a garage sale curtain): $0.50
Bright fabric (Cut from garage sale sheets): $0.50

Total: $39.27

Thursday, October 11, 2012

Our Tiny Garden

Two weeks ago, our plan was to skillfully turn a couple of free pallets into a dining room table and matching benches.  I had suprisingly little apprehension for a person who owns NO TOOLS, and possesses NO SKILLS. 

Alan had enough apprehension for both of us.  But he was managing to be supportive.  He even "blue steeled" it when I took a picture of him sawing the pallet in half by hand.  He's amazing.
A week later we scored some amazing dining room furnature and gave up on the idea to turn that pallet into benches. 
So we were left with a sawed in half pallet... and Alan's dream of a garden.

He took the two halves, flipped them on their sides, and screwed them together using some scrap wood from the hardware store.  He lined the bin with some shade material and filled it with compost and lovely eatible plants.

Red Lettuce

Pansies

Basil

Spinach

Dill

And Rainbow Chard (Yes!)


Total Time and Money Invested:
Around 2 hours
Pallet: Free on Craigslist
Screws: Already owned
Wood Scraps: Free
Shade screen: $6.00
Compost: $5.99
Plants: $10.00

Total: $21.99


Tuesday, October 9, 2012

Lamp Love

Remember when we scored these ugly lamps for $2.50 each?

And they were disgustingly covered in animal fur?
Time for a remake!

Supplies:  
Cream colored spray paint:  Free (already owned)
Rit dye in blue and green: $2.60 at Michael's
Sand Paper: free (already owned) 
Blue Tape: $5.93

First, I sanded down the bases, so that the paint might stick better. 
Then I taped up anything that I didn't want paint on, and gave them a few coats of spray paint.

After using some additional tape to remove cat hair, I made a small cup of water and the dyes, and painted it on the shades. 
I was super disappointed with the blotchy result, so I filled the sink with water and dye and dipped them in for a minute each.  I didn't rinse, because whatever the shades are made of didn't hold the dye very well.

Much happier, I set the shades out to dry...

Ta-da!  New lamps!

I love how they go with the quilt.

And how much softer their light is than the overhead one.  Also, the only other light in our room is turned on and off by climbing up onto the bed and pulling on the chain connected to the fan, so these are SO MUCH EASIER.
Mostly though, I love that they don't look like old lamps from the 80's anymore. Yea!

Total time and money invested:
A few hours 
and  $13.53